Last updated November 18, 2026





Free written scope consultation - allowances, timeline, and change-order rules on paper before a single trade is scheduled
Bathroom Remodeling Troubleshooting: Common Problems and How to Fix Them
Tile that pops off a bathroom wall six months after a remodel isn’t a tile problem. It’s almost always a substrate problem or a movement problem that was present on day one, and a proper installation would have prevented it. The tile is just the messenger. What surprises most homeowners is the order in which a failing bathroom reveals itself: first a hairline grout crack, then a hollow tile, then the waterproofing membrane gives out, then water reaches the subfloor and the repair jumps from a few hundred dollars to a full tear-out. Understand that sequence and you can intervene at the grout stage instead of the joist-replacement stage. This guide walks through how to read each failure, what causes it, and how we handle it on jobs across Boulder City.
Quick Answer
Most bathroom remodeling problems trace back to four root causes: a compromised waterproofing membrane, poor shower pan slope, failed ventilation, and movement in the substrate. You can diagnose the stage of failure with a tap test, a moisture meter reading, and a look at where the grout is cracking. Catching the problem at the grout crack stage – usually within the first year or two – typically costs $150 to $600 to correct. Catching it after the subfloor softens can run $4,000 or more.
Styles & brands we work with
- Kitchen remodeling
- Bathroom remodeling
- Home additions & ADU
- Roofing
- Windows & doors
- Driveway & pavers
- Fence
Table of Contents
- The Failure Sequence: How a Small Grout Crack Becomes a Subfloor Replacement
- Diagnosing Grout Failure vs. Adhesion Failure vs. Substrate Failure
- The Three Tests: Tap, Flex, and Moisture Meter
- Shower Pan and Linear Drain Troubleshooting
- Ventilation Failure Patterns: Cleaning Problem, Fan Problem, or Duct Problem
- Tracking Down Leaks You Can’t See
- How to Get Your Remodeling Contractor Back for Warranty Work
- Preventing Problems Before They Start
The Failure Sequence: How a Small Grout Crack Becomes a Subfloor Replacement
Bathroom failures don’t happen all at once. They move through recognizable stages, and each stage has a visual and tactile signature you can check yourself. The whole point of learning the sequence is to catch the problem one stage earlier than most homeowners do.
- Stage 1 – Grout microcracking. Hairline cracks appear along grout lines, often in corners, at the floor-to-wall transition, or where two wall planes meet. At this stage the tile is still bonded and the waterproofing is likely intact. The cause is usually movement – expansion and contraction, a settling subfloor, or missing movement joints. In Boulder City, the swing between summer highs well over 100°F and cool desert nights works the wall assembly harder than in most climates, and we see corner grout cracks open up faster here than the national averages would suggest.
- Stage 2 – Hollow tile. Tap a tile with your knuckle. A sharp, solid click means good bond. A dull, hollow thud means the thinset has released from the substrate or the tile. Hollow tile often means moisture has already migrated behind the tile through the Stage 1 cracks.
- Stage 3 – Membrane breach. Once water is behind the tile, it reaches the waterproofing layer. If that layer was installed incorrectly – no pre-slope, a fastener punched through it, or a liquid membrane applied too thin – water gets past it and starts working into the substrate.
- Stage 4 – Substrate failure. Cement board or drywall softens, swells, and loses structural integrity. You’ll see tile lifting, grout lines widening, and in advanced cases, a spongy feel underfoot near the shower threshold.
- Stage 5 – Structural damage. The subfloor and possibly framing members are wet and rotting. This is where a $300 grout repair becomes a $4,000 to $9,000 tear-out and rebuild.
The practical takeaway: if you’re seeing Stage 1, call someone for an inspection. If you’re seeing Stage 4 or 5, call someone today. The cost difference between the two is not incremental – it’s an order of magnitude.
Diagnosing Grout Failure vs. Adhesion Failure vs. Substrate Failure
Not every grout crack is a crisis. The trick is separating cosmetic grout issues from structural ones, because they require very different responses. Here’s how we tell them apart on a site visit.
Grout failure
- Cracks follow grout lines, not tile faces
- Tile still sounds solid when tapped
- Cracks recur in the same spots after re-grouting
- Often caused by missing movement joints, improper grout mixing, or rapid curing
- Fix: remove and re-grout with a flexible sealant at all change-of-plane joints. Expect $150 to $400 for a small shower.
Adhesion failure
- Individual tiles sound hollow, especially at edges and corners
- Tiles may lift or rock slightly under finger pressure
- Grout lines around affected tiles look displaced
- Usually caused by expired thinset, poor coverage (spot-bonding instead of full coverage), or dust on the substrate
- Fix: remove and reset affected tiles. $400 to $1,200 depending on tile count and matching availability.
Substrate failure
- Multiple adjacent tiles hollow or loose
- Visible deflection or spongy feel
- Grout lines widened and irregular
- Moisture meter reads elevated behind the tile
- Fix: tear out affected area, replace substrate, re-waterproof, re-tile. $2,500 to $9,000 depending on scope.
The point of separating these three is simple: if you call a contractor and they quote a full tear-out for what is actually a grout joint issue, you’re being sold work you don’t need. If they re-grout a substrate failure, you’ll be calling someone else in six months. Any honest diagnostic starts with the tap test.
The Three Tests: Tap, Flex, and Moisture Meter
You don’t need a contractor to run these three tests, and running them yourself will tell you exactly how urgently you need one. Do all three, in order, and record what you find.
Test 1: The tap test
Take the handle of a screwdriver or the back of a plastic comb and tap every tile in the shower, floor first, then walls. Good bond produces a sharp click like tapping glass. Failed bond produces a dull thud. Mark hollow tiles with painter’s tape. One or two scattered hollows over a large area might be a spot-bonding issue from installation. A cluster of five or more hollow tiles, or any hollow on a shower floor, is a red flag.
Test 2: The flex test
Press firmly on the center of a suspect tile with your thumb while watching the grout lines around it. If the grout lines flex, widen, or crack visibly under pressure, you have movement in the substrate or a debonded tile moving independently. Also press on the shower floor between the drain and the wall – a spongy response means the substrate is compromised or the pan has failed.
Test 3: Moisture meter reading
A pin-type moisture meter runs $40 to $120 at any hardware store and will tell you what the taps and flexes can only suggest. Take a reading on the grout line at the base of the shower wall, on the shower floor near the drain, and – the reading most homeowners miss – on the wall of the room on the opposite side of the shower. If that opposite-side wall reads damp, water is migrating through the shower wall assembly and you have a membrane problem regardless of how the tile looks.
Document all three: photos of hollow tiles, a short video of the flex test, and moisture readings written down with dates. In our experience, having this record before you call anyone changes the conversation – you’re describing a problem, not guessing at one, and it puts you in a position to compare quotes fairly.
Shower Pan and Linear Drain Troubleshooting
Slow drainage in a shower is almost never just a clog. There are three distinct causes, and each one points to a different repair – which is why “just snake the drain” is the wrong first move about half the time.
Cause 1: Clog
Hair, soap scum, and product buildup in the drain body or trap. This is the easy one. A plumber’s snake or a hair-catching tool resolves it for under $100. Sign of a clog: water pools slowly then drains, and the pooling starts within seconds of turning the shower off.
Cause 2: Wrong slope
The shower pan needs a minimum slope of 1/4 inch per foot toward the drain. If your pan is flatter than that – common in DIY installs and in older remodels where the pre-slope was skipped – water pools permanently in low spots and never fully drains. Sign of a slope problem: standing water that stays put indefinitely, or a persistent damp spot that never dries between showers. Fixing this usually means re-doing the pan, which is a $1,500 to $3,500 job.
Cause 3: Improper drain collar installation
Linear drains and standard clamping drains both require a waterproofing connection between the membrane and the drain flange. If that connection was installed incorrectly – the membrane overlapped the wrong side of the flange, or the clamp ring was over-tightened so it cut the membrane – water reaches the ceiling of the room below via the drain body itself rather than via the shower floor. Sign: water stains on the ceiling below the shower that appear only after showers, and a drain that physically looks fine.
A quick determination: if water backs up but then drains completely, it’s a clog or slope issue. If water drains fine but you have ceiling stains below, it’s the collar or the membrane itself. For linear drains, note that the slope on the linear channel itself often gets installed dead flat – the channel has to tip slightly toward the outlet, and it’s easy to set it level by mistake.
Ventilation Failure Patterns: Cleaning Problem, Fan Problem, or Duct Problem
Mold on the caulk lines around your shower is not one problem – it’s three possible problems with three completely different fixes. Misdiagnosing this is one of the most common points of frustration we’re called about in Boulder City, because homeowners get sold a new exhaust fan when the actual culprit is a duct that terminates in the attic.
Pattern 1: Cleaning problem
Surface mildew that wipes off with vinegar and stays gone for weeks. Fan runs, the mirror clears in 5 to 10 minutes, the room feels reasonably dry. This is a maintenance issue, not a remodel issue. Keep the fan running for 20 minutes after every shower and you’ll mostly solve it.
Pattern 2: Fan capacity problem
Mildew returns within days of cleaning. The mirror stays fogged for 15+ minutes after a shower. Fan is loud but doesn’t seem to move much air. This usually means an undersized fan (below 1 CFM per square foot of bathroom floor area is undersized for most rooms) or a fan near end of life. Test with a single square of toilet paper held near the fan grille – if it doesn’t stick, the fan can’t pull. Fix runs $250 to $500 installed for a quality replacement.
Pattern 3: Duct termination problem
Mildew reappears in the same spots, the fan seems to run fine, and you may notice the room is still humid after a long shower even though the fan is pulling. The culprit: the fan duct terminates in the attic or into the crawlspace rather than through the roof or wall to the outside. Moist air gets dumped into the attic, condenses on the roof deck, and – in some cases – drops back down into the bathroom through can lights and gaps. In Boulder City’s hot, dry summers this is less catastrophic than in a humid climate, but the pattern still shows up on older homes where an attic vent was the cheapest route at the time. Fix: reroute the duct to the exterior with an insulated duct and a proper roof or wall cap. $400 to $900 depending on roof access.
If you’ve cleaned, tested the fan, and the mold still comes back in the same spots, assume it’s Pattern 3 until proven otherwise. Pull the fan cover and look at where the duct actually goes. You’ll have your answer in 30 seconds.
Tracking Down Leaks You Can’t See
Water that ends up on the ceiling below the bathroom or on the wall of an adjacent room has four common sources. Working through them in order saves you from tearing out the wrong thing.
- Shower pan to drain connection. The most common. Water appears below the shower and gets worse with use. See the drain collar section above.
- Shower valve body. If the leak appears behind the wall on the valve side and only happens when the shower is on, the valve body seal has failed or the valve was installed without proper waterproofing behind it. $300 to $700 to open the wall, correct it, and re-patch – plus the tile repair if you can’t find a matching tile (which is why you always keep a box from the original install).
- Wall-to-floor junction inside the shower. The seam between the shower wall and the shower floor is the highest-stress joint in the assembly. If it was grouted rather than sealed with flexible sealant, it cracks, and water gets behind it. This is Stage 2 of the failure sequence described above.
- Supply lines to the toilet or sink. A slow drip from a failing braided supply line will travel along the subfloor and show up somewhere utterly unexpected. Any time you have unexplained moisture, check every supply connection under every fixture. A $12 supply line has caused more flooring replacements than any shower on record.
When you can’t isolate the source yourself, get a moisture meter reading from three points – under the shower, at the wall below the valve, and at the ceiling below – and photograph the readings. A contractor can tell from the pattern which of the four sources you’re dealing with before the wall opens up.
How to Get Your Remodeling Contractor Back for Warranty Work
If the original installation is failing inside the warranty window, the fix should be on the installer’s dime. Getting them back is a matter of documentation, escalation, and knowing what leverage you actually have. Here’s the sequence that works.
Step 1: Assemble your documentation before you call
- The original contract, including the scope of work and any warranty language
- The final invoice marked paid
- Photographs of the failure, dated
- Your own tap test and moisture meter records (from above)
- Any prior text messages or emails about the issue
- The permit inspection records, if you can pull them from the building department
Step 2: Make the first request in writing
Send a short, factual email or text: what’s failing, when you noticed it, what your diagnostics show, and what you want them to do (inspection first, repair second). Avoid language that assumes bad faith. Contractors respond better to a clear and organized request than to a frustrated one, and you’re building a paper trail from message one.
Step 3: Escalate if the first request is ignored
Nevada requires contractors to be licensed through the Nevada State Contractors Board, and the board handles complaints about workmanship when a licensed contractor fails to honor their warranty obligations. A formal complaint filed with the board carries real weight – the contractor’s license is on the line. Before you file, send one final written request with a deadline (10 business days is reasonable) and state plainly that you’ll file with the board if there’s no response. Most contractors respond at this point.
Step 4: Know the warranty window
Most workmanship warranties run one to two years. Some run shorter. Some, like our 730-Day Done Right Promise, run longer – and that’s the single best reason to ask about warranty length before you sign a contract, not after something fails. If you’re past the warranty window, or the original contractor won’t return, call a different contractor for an inspection and quote.
Step 5: When the callback becomes a formal complaint
If the contractor is unlicensed, has vanished, or has failed to respond to a written request and a board-track warning, file with the Nevada State Contractors Board. You’ll need your documentation packet and photos. Keep every message. Complaints go further than phone calls ever will.
Preventing Problems Before They Start
Almost every problem in this guide traces to one of four installation errors: no pre-slope under the pan, spot-bonded tile instead of full coverage, grout used where flexible sealant belongs, or ventilation ducted to the wrong place. Avoiding them costs a few hundred dollars more upfront and saves thousands later. Here’s what to insist on in the bid.
- A written pre-slope spec. The shower pan needs 1/4 inch per foot toward the drain, under the membrane, not just built into the mud bed above it.
- Full mortar coverage under tile. Anything below 90% coverage on a shower wall will fail. Ask how coverage is verified.
- Flexible sealant at every change of plane. Corners, floor-to-wall, and drain flanges should be sealed, not grouted.
- A factory-flanged waterproofing system. Sheet or liquid – both work when installed to spec. Improvised systems don’t.
- Ventilation ducted to the exterior. Confirm in writing where the fan duct will terminate before work starts.
- A spare box of tile. Always. Keep it in the garage. It’s the difference between a $200 repair and a $3,000 tile-matching problem.
If you’re planning a bathroom remodel and want to see how the same thinking applies to other parts of your property, our team handles that in Groundwork Construction Co. of Boulder City home, and we bring the same approach to Home Additions & ADU in Boulder City where the same waterproofing discipline applies to shower and bath installations inside a new structure.
Common Mistakes to Avoid
- Re-grouting over a substrate failure. If tiles are hollow, fresh grout will crack again inside a month. Diagnose before you repair.
- Ignoring the ceiling below the bathroom. A water stain on the ceiling is not a plumbing fluke. Trace it back to the shower pan before it spreads.
- Skipping the pre-slope because it’s “old code.” Boulder City shower pans built without a pre-slope are the single most common source of the failures we’re called in to diagnose. Do it right the first time.
- Ducting the bath fan into the attic because “it’s a desert, it’ll dry out.” Boulder City’s dry air helps, but the moisture still condenses on the roof deck at night and drops. Terminate to the exterior every time.
- Throwing away leftover tile. Keep at least one full box. Tile runs get discontinued, and matching thirteen-year-old tile from Boulder City’s mid-2000s subdivisions is close to impossible.
- Paying in full before a final inspection and moisture test. The final payment is your leverage. Hold it until the shower is run for 20 minutes with no leaks and the moisture readings are normal.
- Not asking about the warranty in writing. “We guarantee our work” is not a warranty. Get the term, the coverage, and the remedy in writing before work starts.
See the difference
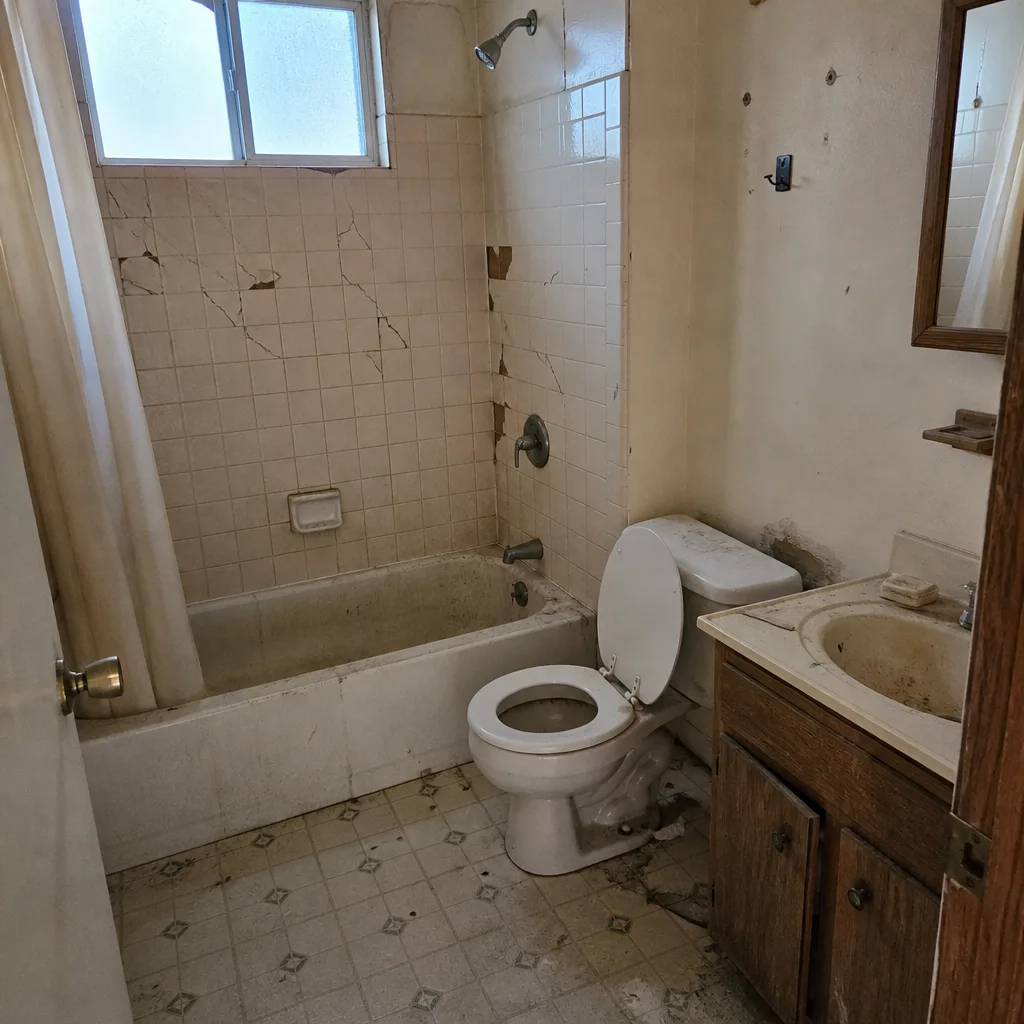 Before
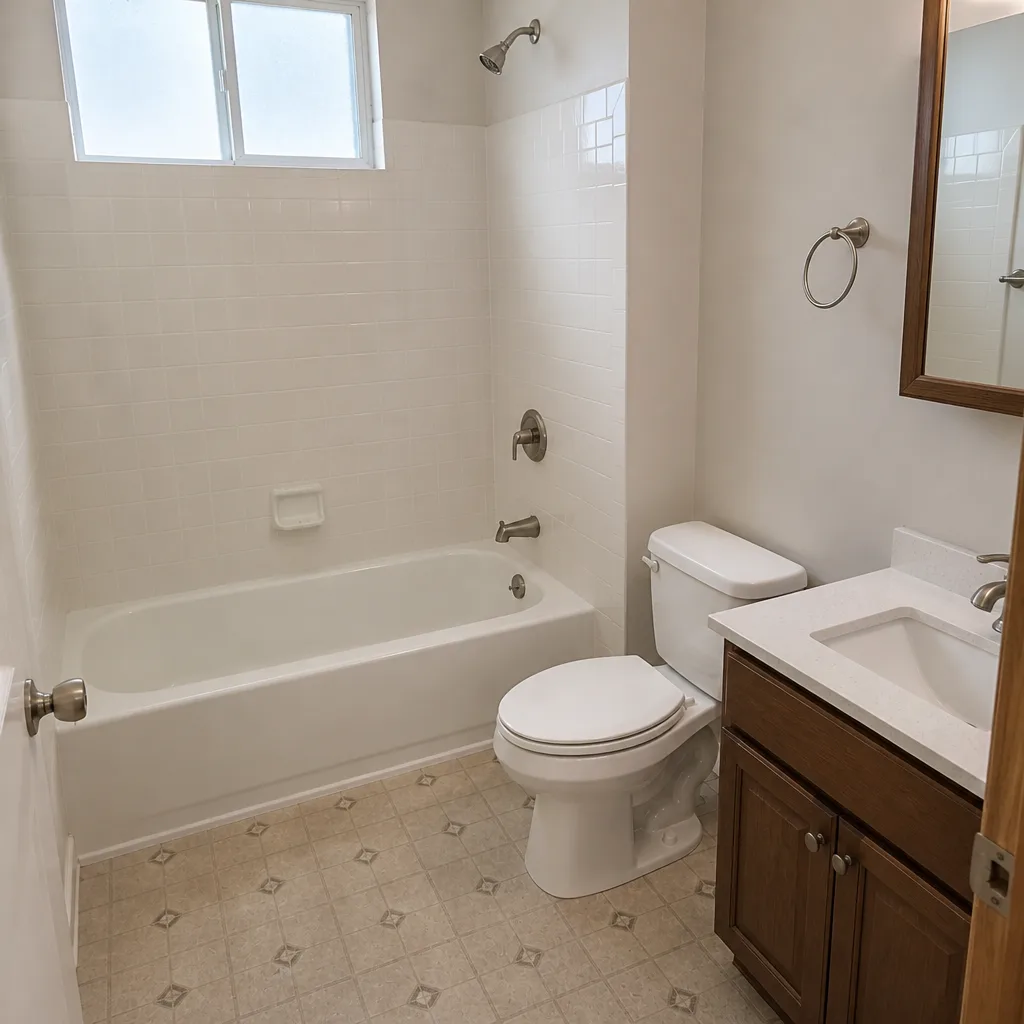 After
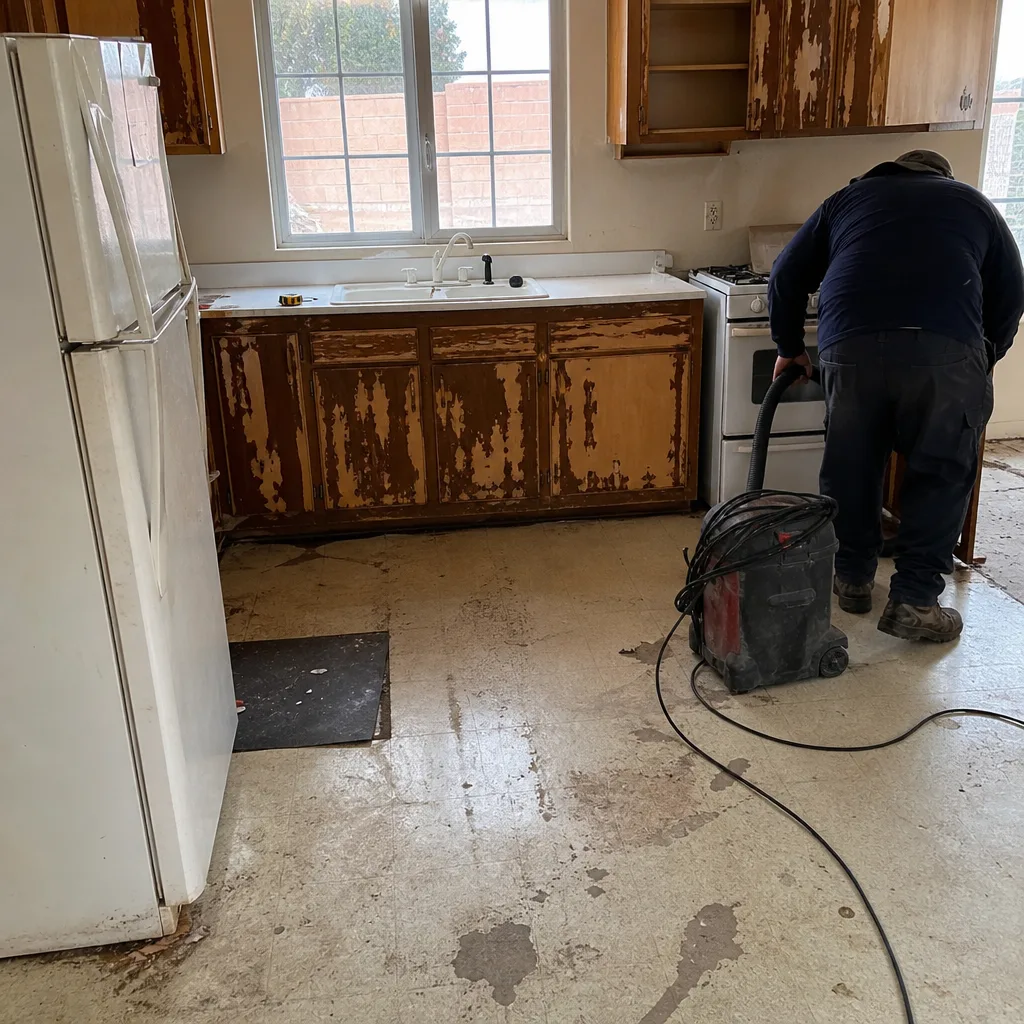 Before
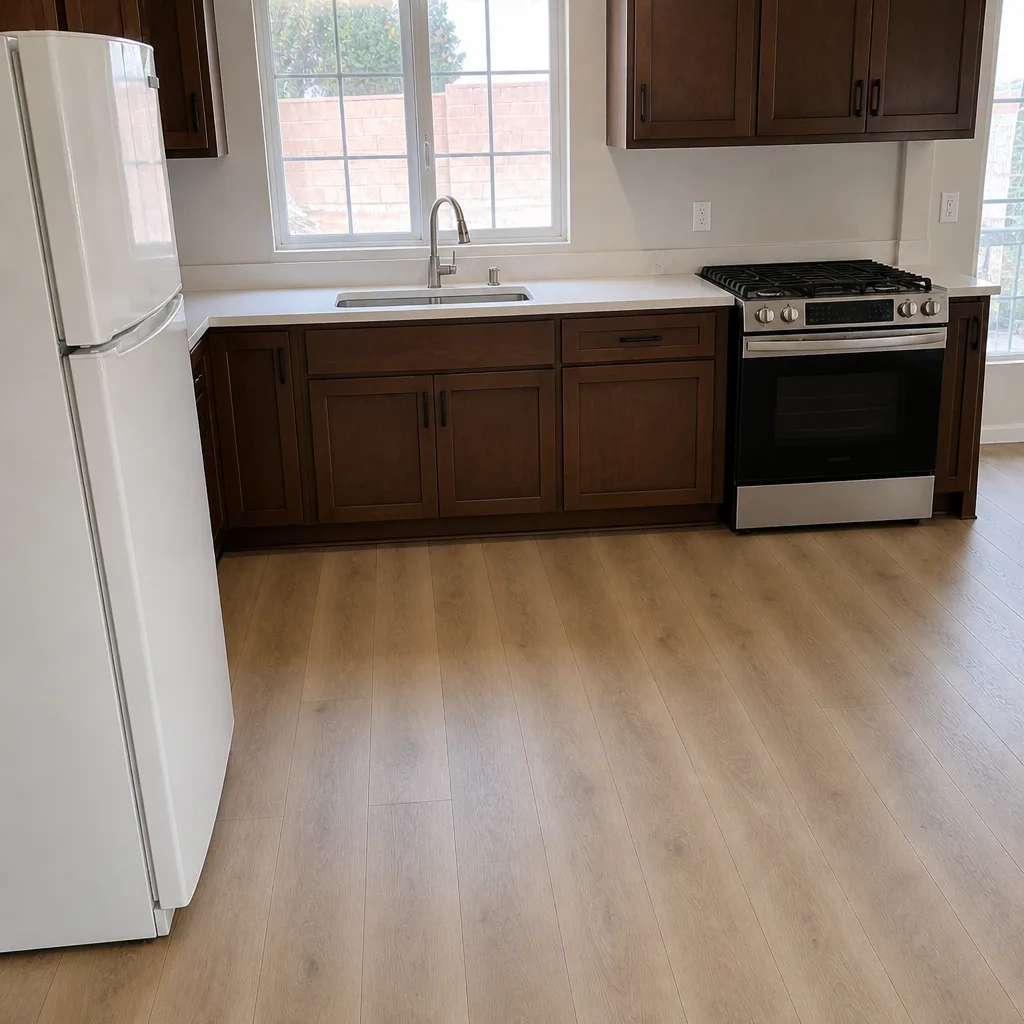 After
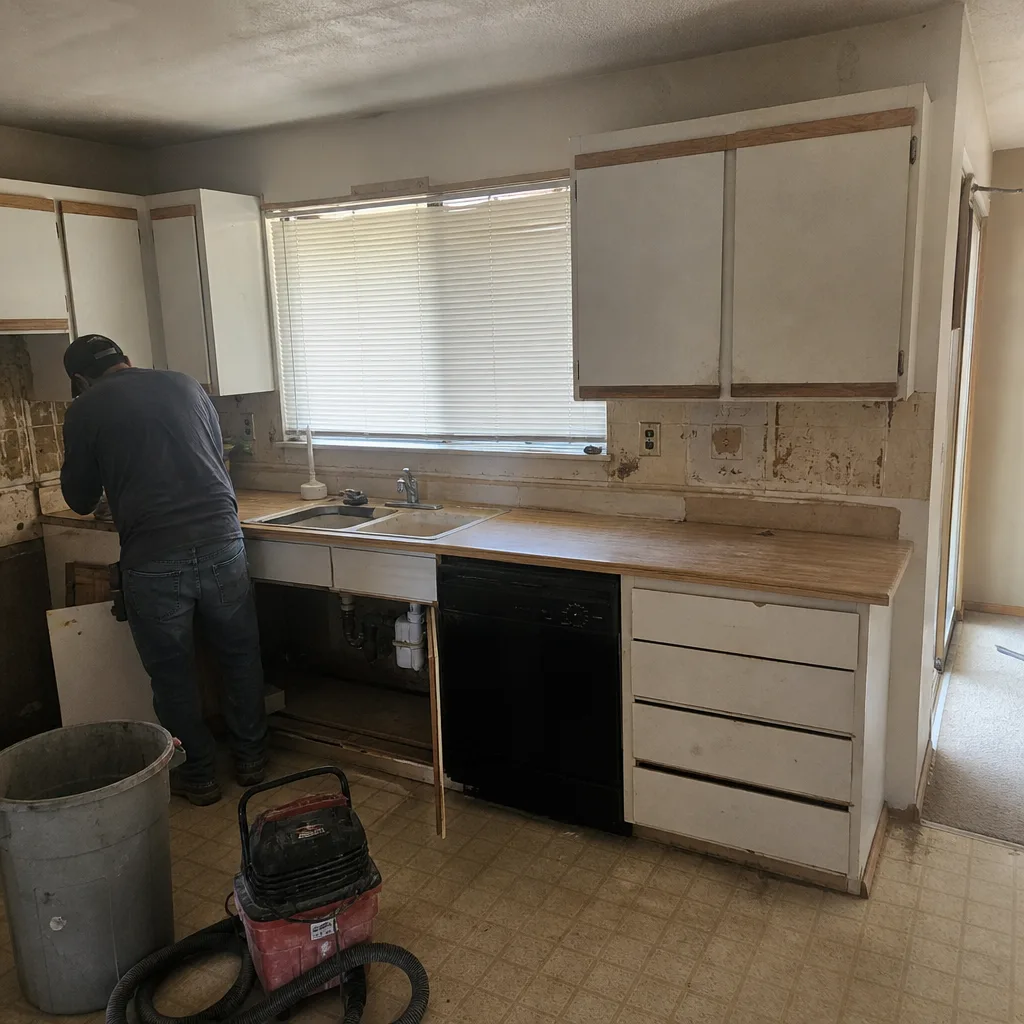 Before
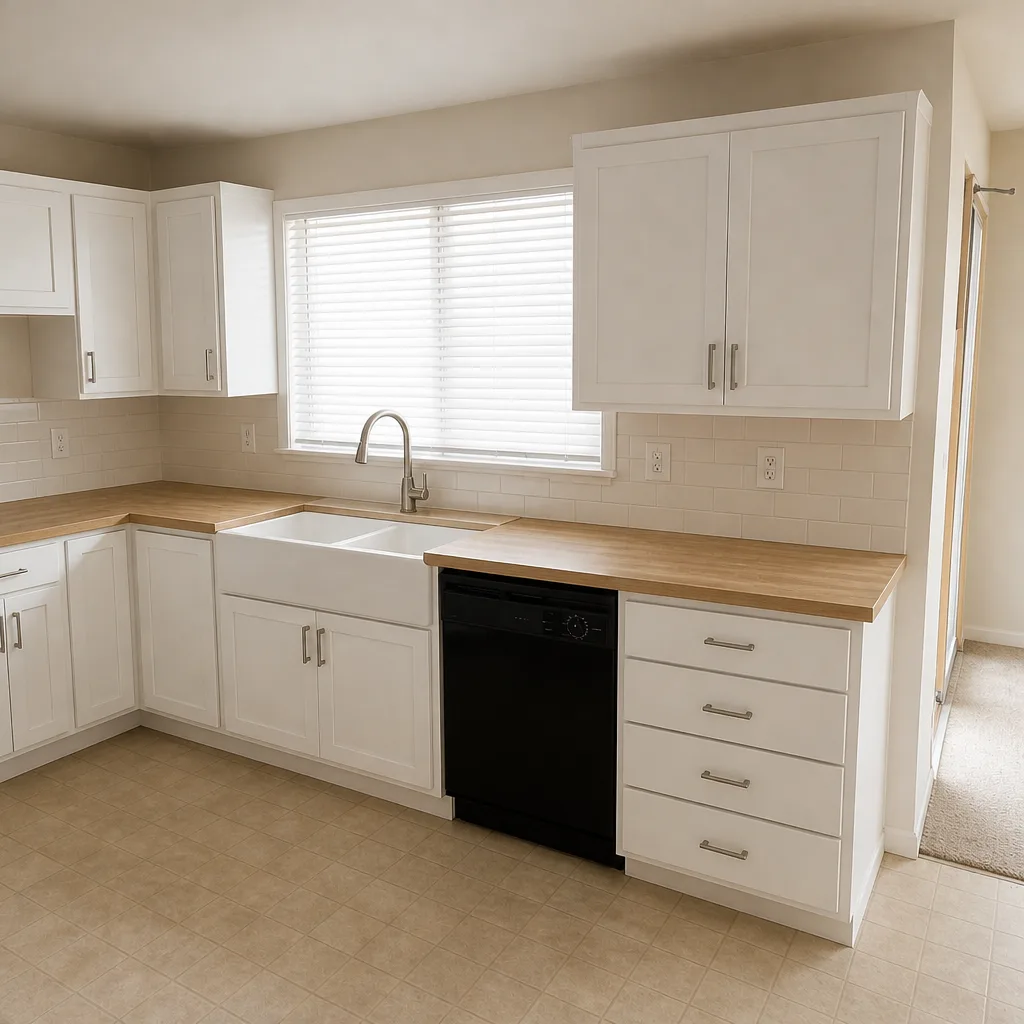 After
When to Call a Professional
Some of this troubleshooting you can do yourself – the tap test, the flex test, the moisture meter readings, and pulling the fan cover to see where the duct goes. But four situations are worth a call: any hollow tile on a shower floor, any ceiling stain below the bathroom, any recurring mold pattern that survives cleaning and a new fan, and any evidence of subfloor deflection. Those four point to failures beyond the surface and involve substrate or waterproofing work that most homeowners don’t want to attempt inside a wet assembly. That’s exactly what a structured re-inspection and repair scope is for. Groundwork Construction Co. of Boulder City offers free estimates in Boulder City – call (888) 282-1693 and we’ll walk your shower with a moisture meter, a tap test, and a written scope of what’s actually wrong. All projects are covered by our 730-Day Done Right Promise, so if it’s not done right, we make it right. Our technicians have up to 12 years of experience with wet-area assemblies, and we’re happy to look at a project you’re planning too – our team handles everything Driveway & Pavers in Boulder City to Fence Installation in Boulder City, with the same straightforward approach to quoting and warranty that we bring to bathrooms.
Frequently Asked Questions
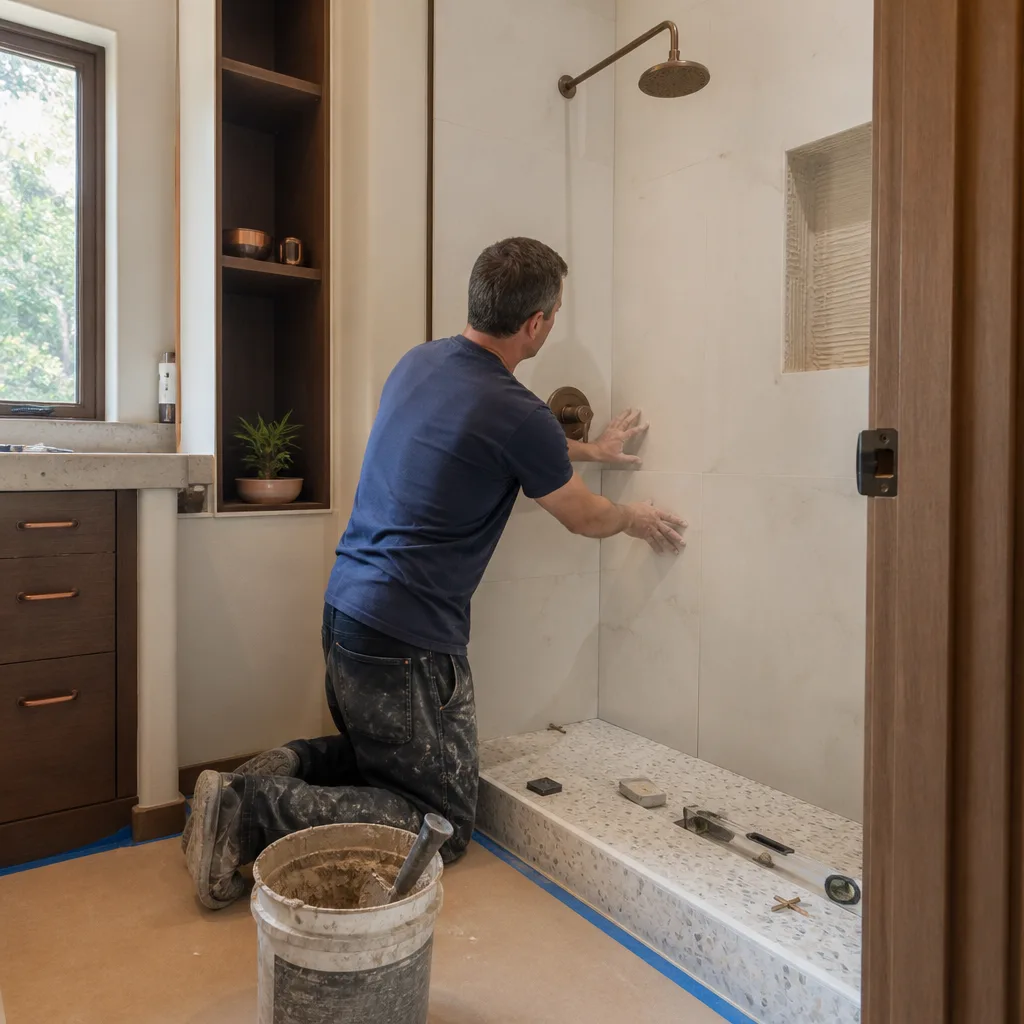
Popped tile almost always means the tile lost its bond to the substrate, which is caused by spot-bonding during installation, expired thinset, or a substrate that has gotten wet and swelled. Before you re-set the tile, find out why it released. If a moisture meter reads damp behind the tile, the underlying membrane has failed and re-setting the tile will not solve it. Call (888) 282-1693 for a free estimate if you’re not sure which stage of failure you’re seeing.
Slow shower drainage in Boulder City is usually a clog first, a slope problem second, and a drain collar installation problem third. Flush with a snake to rule out the clog. If the water still pools permanently, the pan slope is wrong and needs to be re-built. If the water drains fine but you have ceiling stains below, the collar or membrane has failed. Call (888) 282-1693 to get a free estimate on which one you’re dealing with.
Diagnostic inspection typically runs $150 to $350, and the cost of the actual fix depends entirely on the stage of failure. Grout repair is $150 to $400, tile re-set is $400 to $1,200, shower pan rebuild is $1,500 to $3,500, and a full tear-out and rebuild is $4,000 to $9,000. Estimates from our team are free, and the number we quote is the number you pay – call (888) 282-1693 to schedule.
Yes. Nevada contractors are licensed through the Nevada State Contractors Board, and the board accepts complaints about workmanship from homeowners when the contractor has failed to honor their warranty obligations. Filing a complaint requires documentation: the contract, the invoice, photos, and records of your requests. Most contractors respond to a written request before it reaches that point – and always put the request in writing before calling the board.
A properly built wet area shouldn’t show any failure in the first 10 to 15 years. When problems show up inside the first 2 years, they’re almost always installation errors rather than normal wear. That’s why our team backs every job with the 730-Day Done Right Promise – if the work isn’t right, we come back and make it right. Call (888) 282-1693 for a free estimate on a re-inspection or a new remodel quote.
You can – and should – run the tap test, the flex test, and check your ventilation duct termination yourself, because those three steps will tell you how urgent the problem is. What you shouldn’t tackle yourself is anything involving waterproofing membrane replacement, shower pan re-slope, or tile removal on a wet wall, because the assembly has to be rebuilt correctly to code or it will fail again. Once you’ve done your own diagnostics, call a licensed professional for the actual repair – (888) 282-1693 for a free estimate.
The Bottom Line
Bathroom problems reveal themselves on a schedule, and the earlier you catch the failure, the cheaper the fix. A grout crack that gets re-grouted in year one is a $300 repair. The same crack ignored for three years is a $6,000 tear-out. Run the tap test, the flex test, and meter readings yourself, get a contractor out for an inspection the moment you see hollow tile or a stain below the bathroom, and document everything so warranty work is straightforward if it comes to that. Most of these problems trace to four installation mistakes a good contractor never makes: no pre-slope, spot-bonded tile, grout used instead of flexible sealant at change-of-plane joints, and ventilation ducted to the wrong place. Our team at Groundwork Construction Co. of Boulder City walks every bathroom the same way – diagnose the stage, quote the fix in writing, and back it with a written warranty. That’s the whole system.
Ready to find out what’s actually wrong, or plan a remodel done right the first time? Call (888) 282-1693 for a free estimate and design consult in Boulder City. We answer live, 24/7 – no voicemail, no waiting until Monday. Financing is available at 0% for 18 months, and projects over $10,000 get $1,000 off.
Written by the team at Groundwork Construction Co. of Boulder City.