Last updated November 18, 2026






Free written scope consultation - allowances, timeline, and change-order rules on paper before a single trade is scheduled
Windows & Doors Maintenance Schedule: What to Do and When
The number one cause of premature window failure in desert climates isn’t product quality. It’s UV-degraded caulk that goes unaddressed for years because nobody gave the homeowner a specific date to look at it. Windows and doors are the only part of your house that moves every single day, and that constant motion means maintenance isn’t a nice-to-have – it’s the line between a product that lasts 30 years and one that needs replacement at 15. This guide lays out a maintenance schedule built around Boulder City’s real climate calendar, not generic seasonal advice written for the Midwest.
Quick Answer
Inspect and lubricate window and door hardware twice a year (once in spring before summer heat, once in fall after monsoon season), check caulk and weatherstripping every six months, and document every inspection with dated photos in a maintenance log. In Boulder City, the two critical windows are March-April (before thermal expansion peaks) and October-November (after the summer UV and monsoon rain have done their worst).
Styles & brands we work with
- Kitchen remodeling
- Bathroom remodeling
- Home additions & ADU
- Roofing
- Windows & doors
- Driveway & pavers
- Fence
Table of Contents
- Why Boulder City’s Climate Changes the Maintenance Calendar
- Spring Inspection Checklist: What to Look For Before Summer Heat
- Fall Inspection Checklist: What to Look For After Monsoon Season
- Lubrication Schedules for Every Hardware Type
- How to Test Weatherstripping Before It Fails
- Caulk: How Often to Check, How to Spot UV Degradation Early
- The Annual Documentation Practice That Protects Your Warranty
- When to Call a Professional
Why Boulder City’s Climate Changes the Maintenance Calendar
Boulder City sits at roughly 2,500 feet in the Mojave Desert, and that elevation matters. Summer highs regularly push past 105°F, and the sun’s UV index here hits 11 or higher on the summer index – the highest category. That intensity degrades sealant faster than anything a homeowner in Phoenix or Las Vegas deals with, let alone a homeowner in a temperate climate whose product literature was written for moderate conditions.
Here’s the practical consequence. A quality window frame expands and contracts with daily temperature swings that can span 40 degrees in the desert. Your caulk, weatherstripping, and hardware all move with it. At the same time, the UV radiation breaks down the polymer chains in caulk at a rate that accelerates roughly 8-10% for every 1,000 feet of elevation above sea level. Boulder City’s elevation means your sealant works harder than the label assumes.
Then there’s the monsoon season. From July through September, Boulder City can get sudden rain events that dump half an inch in 20 minutes and then vanish. Wind-driven rain finds every micro-crack in a seal. If your first inspection after summer doesn’t happen until November, you’ve given moisture three months to work its way into framing.
In our experience working on Boulder City homes – from the older neighborhoods near the historic district to newer builds out toward the Sunrise Vista area – the failures we see aren’t from bad products. They’re from expired maintenance cycles. The 20-year-old windows that still work fine are the ones the previous owner inspected and lubed every year. The failed ones are the ones nobody touched.
Spring Inspection Checklist: What to Look For Before Summer Heat
March and April are your pre-flight check. This is the last opportunity to address issues before thermal expansion peaks and before the UV index tops 10 daily. Spend 45 minutes on this checklist and you’ll prevent most summer failures.
- Walk the perimeter and look at every caulk joint. Look for cracks, gaps, or caulk pulling away from the frame. Anywhere the caulk has shrunk or separated is a future water intrusion point. Mark these with blue painter’s tape so you remember them.
- Open and close every operating window. Casement cranks should turn smoothly. Sliders should glide. If you encounter resistance, don’t force it – that’s a sign of failing hardware, and forcing it cracks the operator mechanism.
- Check door hinges for dark corrosion or rust discoloration. In Boulder City’s low humidity, rust is rare, but hinge plates can develop UV-degraded lubricant films that feel gritty.
- Examine weatherstripping for compression set. Press it with your thumb. It should spring back. If it stays compressed, it’s already failing.
- Test door sweeps and thresholds. A door sweep that drags on the threshold at this point will drag worse by August.
- Look for insect intrusion evidence. Small gaps around door frames that let scorpions or ants inside in spring are usually visible as small debris piles.
- Photograph everything. Date-stamp your photos for the maintenance log.
Do this inspection yourself. It’s simple, it’s fast, and it tells you exactly what needs professional attention. If you see multiple failing caulk joints plus a sticking operator, that’s a professional call. If you see one small caulk crack, you can patch it. We’ll get to how to tell the difference later.
Fall Inspection Checklist: What to Look For After Monsoon Season
October and November are your post-monsoon audit. The summer heat has done its damage, the rain has tested every seal, and now you need to catch what failed before winter highs and lows stress these systems through the cold season.
- Re-examine every caulk joint you patched or left alone in spring. Did the patch hold? Did the untouched joint fail wider?
- Check window frames for water staining or discoloration. Interior staining near the sill means water is getting behind the frame.
- Look for dry rot or soft wood on door and window frames. Poke it with a screwdriver. If the wood yields, it’s rotted.
- Test every lock and latch. Summer heat expansion can misalign hardware. A door that no longer latches cleanly in October was tight in April.
- Inspect sliding door tracks for grit and debris. Summer dust accumulates. Clean the tracks thoroughly before winter.
- Check weatherstripping again with the dollar bill test (described below).
- Re-photograph everything with fresh dates.
This fall inspection is the one most homeowners skip. That’s the mistake. The spring inspection protects you from summer heat. The fall inspection tells you what summer broke. Skip the fall check and the damage surfaces in January, when you’re calling for emergency repairs and the cost is 2-3x higher.
Lubrication Schedules for Every Hardware Type
Hardware lubrication is where most homeowners either don’t do it or do it wrong. Here’s the specific schedule by hardware type, and the products that actually work in high-heat desert environments.
Casement and Awning Window Operators
Schedule: Every 6 months (spring and fall). Casement cranks have a worm gear and a crank arm mechanism. The grease dries out faster in Boulder City heat. Use a silicone-based grease (synthetic silicone lubricant is preferable to petroleum-based because it doesn’t attract dust). Apply a small amount to the operator arm pivot points. Turn the crank through a full open-close cycle to distribute. If the crank feels gritty even after application, the operator is nearing failure – don’t force it. A failing operator on a casement can cost $75-$150 for the part and, in our experience, most Boulder City homeowners discover the failure at the worst time (mid-summer heat).
Sliding Window and Sliding Door Tracks
Schedule: Every 3 months (quarterly) in dusty months, otherwise every 6 months. Sliding tracks gather grit fast in the desert. Use a vacuum with a crevice tool to remove loose debris, then wipe with a damp cloth. Do not use a solvent-based cleaner on the track rollers – it degrades the plastic. Apply dry PTFE spray or silicone spray to the track and rollers. Avoid oil-based lubricants on sliding tracks: oil collects dust and turns a smooth glide into a grinding mess in about six weeks.
Door Hinges (Exterior Doors)
Schedule: Every 6 months. Exterior door hinges take more abuse than interior hinges because they carry the weight of a solid door through thermal movement. Apply a few drops of lightweight oil (3-in-One or white lithium grease for heavier doors). Work the hinge by opening and closing the door to distribute. Wipe away excess. Never use WD-40 as a lasting lubricant – it’s a solvent and penetrant, not a lubricant, and it evaporates within weeks.
Multi-Point Locking Systems (French Doors and Patio Doors)
Schedule: Annually, professionally serviced. Multi-point systems are heavily engineered and precise. Clean visible moving parts with silicone spray as a light maintenance action. Do not attempt to disassemble the system. If the door handle requires extreme force to lock, that’s a professional call – forcing it cracks the internal cam and the repair cost jumps from $150 to $400+.
Storm Door Closers and Holders
Schedule: Every 6 months. These see the heaviest use of any exterior door hardware. The hydraulic closer is sealed, but the pivot arms benefit from a silicone spray. The hold-open washer needs periodic replacement – they’re cheap, and if your storm door slams in the wind during monsoon season, a $2 washer is a lot simpler than a broken door.
How to Test Weatherstripping Before It Fails
Weatherstripping fails quietly. By the time you feel a draft, you’ve usually already paid a season’s worth of extra cooling costs. Here are the tests to run before a draft shows up.
The Dollar Bill Test
Close your door (or window) on a dollar bill. The bill should slide out with resistance but not tear. If it slides out freely, the weatherstripping is failing. If you can’t pull it out at all, the weatherstripping is too tight and will wear out fast. Test in all four corners and the middle. Any location where the bill slips out freely needs replacement.
The Thermal Camera Approach
This is a more advanced test. A basic thermal camera (or a smartphone thermal add-on) can identify air leaks and thermal bridging visually. During the summer, when your house is cooled inside and the desert is 110°F outside, a thermal scan of your windows and doors reveals exactly where hot air is entering. If you see a bright red or orange spot near a window frame, that’s an air leak. Thermal cameras have gotten cheap; a good phone-mounted unit is $250, or check with us – we sometimes run a basic scan as part of an inspection.
The Incense or Tissue Test
On a windy day (Boulder City gets gusty spring winds out of the southwest), hold a tissue near every window and door frame. Where the tissue flutters, air is entering. This is cruder than a thermal camera but tells you the same thing about large leaks.
Compression Set Check for Door Seals
Foam bulb weatherstripping doesn’t recover after enough heat cycles. Press it with your thumb. A healthy seal springs back quickly. A degraded one stays compressed. In Boulder City heat, foam weatherstripping has a service life of roughly 4-6 years, and the more sun exposure it gets, the shorter that gets. If your door has been in place more than 5 years with no weatherstripping replacement, it’s likely failing even if you don’t feel it.
Caulk: How Often to Check, How to Spot UV Degradation Early
Caulk is the single highest-maintenance item on your windows and doors. It’s also the one with the biggest failure cost. When caulk fails, water gets into framing, insulation, and interior wallboard. Repair costs jump from $200 (replace caulk) to $4,000+ (repair rotted framing).
How Often to Check
Inspect caulk every 6 months (spring and fall), regardless of age. As a baseline, exterior caulk in Boulder City should be replaced every 5-7 years. High-quality silicone or urethane caulk lasts longer; acrylic latex caulk on a sun-exposed surface can fail in 3-4 years. If your home was caulked with acrylic, budget replacement at 4 years. If with silicone or polyurethane, inspect at 5 years and plan replacement by 8.
Signs of UV Degradation
UV degradation starts on the surface facing the sun. Here’s what to look for:
- Chalking: The caulk surface develops a chalky, powdery residue that wipes off on your finger. That’s UV breakdown of the polymer surface.
- Color fading: The caulk fades from its original color. If it was white and now looks gray or tan, it’s degrading.
- Cracking or crazing: Fine hairline cracks across the caulk surface. This is the point where water can already get into the joint.
- Pulling away from the surface: The caulk edge separates from the frame. A gap forms. This is past the point of a simple patch.
- Bubbling or blistering: Air or moisture is trapped underneath, indicating the caulk has lost adhesion.
When to Patch vs. Replace
Patch if: the caulk is intact overall, only a small crack or gap is present, the caulk is less than 3 years old, and the damage is isolated. Clean the area, let it dry, and apply a small bead of matching caulk. Don’t spread it over the old – apply a thin new layer that bonds to the underlying surface.
Replace if: multiple areas are failing, the caulk is 5+ years old, water is already getting behind, or you see discoloration and pulling away together. Full replacement requires removing old caulk with a proper caulk removal tool (do not use a solvent on old silicone – it won’t work), cleaning the joint with denatured alcohol, letting it dry completely, and applying new caulk with a clean line.
In our experience, the Boulder City homes we service most often are the ones where the previous owner inspected caulk once, saw a small crack, decided it was fine, and moved on. By the time we see it, the joint has been open for 4-5 years and the framing has started to go. That’s a $3,000+ repair that could have been $150 in caulk. When your windows are due for replacement regardless, the caulk inspection is part of a bigger scope – and if you’re comparing the cost of repairing 20-year-old caulk versus replacing windows yourself, it’s a good time to review Groundwork Construction Co. of Boulder City home for how to talk through the options.
Windows and Doors in Different Construction Types

The maintenance schedule changes a little depending on what kind of home you’re in. Boulder City has an unusual mix of older historic construction, mid-century homes, and newer modular and prefab builds.
Modular and Prefab Homes
Modular homes from manufacturers like Mighty Buildings and Boxabl are now common in the Southwest, and their window and door systems have distinct maintenance considerations. Factory-installed seals are often excellent, but the gaskets between modular sections (and between frames and structural connections) are a maintenance item that most modular-home owners were never trained to check. The good news is that modular construction is more dimensionally predictable, which means thermal camera inspections work very well. The bad news is that if the joints between modules aren’t maintained, the factory seals fail fast. For the ADU side of this, if you’re considering a manufactured accessory unit, design-level decisions about door orientation and window exposure matter – see our guide to Home Additions & ADU in Boulder City for how we handle those.
Historic and Mid-Century Homes
Boulder City has neighborhoods with homes from the 1930s onward. On these, original wood windows (many with counterweight balance mechanisms) require different maintenance than modern vinyl or aluminum systems. Counterweight systems need their cords inspected annually and their pocket access panels cleaned. If the weight cords are frayed, don’t force the window – those weights can drop. That’s a pro call.
Newer Construction
Newer homes – such as the ones we’ve seen in the Boulder City developments near the golf course and newer residential areas – usually come with modern window manufacturers (Andersen, Pella, Marvin) and the maintenance schedule described in this guide applies directly. Factory warranties usually assume annual maintenance; skipping it doesn’t void the warranty, but it makes it harder to claim if you later need warranty service.
The Annual Documentation Practice That Protects Your Warranty
This is the section most homeowners skip, and it’s the one that can save you money twice – once on the warranty claim and once more when you sell the house.
Why It Matters
Window and door warranties are typically 10-20 years for the product and 5-10 for installation and sealing. If you file a warranty claim at year 12 for a seal failure and you have no record of maintenance, the manufacturer has a legitimate response: “We can’t tell if the failure is product or neglect.” A warranty claim denied is a full replacement cost – not covered.
More importantly for resale, a documented maintenance log is a signal to buyers that the house has been cared for. In Boulder City, where many homes have some exposure to desert climate that’s harder on exterior systems, buyers and their inspectors specifically ask for proof of maintenance. A log with dated photos and receipts is a selling point. A house with no records and 15-year-old windows suggests a future cost to the buyer.
What to Document
- Dated photos of every window and door (interior and exterior) at every inspection. Name them clearly: “2026-04-15-window-north-bedroom-exterior.jpg”
- What you did – caulk patched, operator lubed, weatherstripping replaced, hardware tightened.
- Products used – the specific caulk product, the specific lubricant. This matters if the same issues recur.
- Professionals involved – who did the work, if anyone, and the scope.
- Receipts for any professional work – attached to the log so they’re easy to produce.
- Any warranty paperwork – original window or door warranties and dates of installation.
Where to Keep It
A cloud-based folder (Google Drive, Dropbox, or iOS Photos with albums) is easiest. A physical folder in a fireproof safe is a backup. Do not skip digital – photos on cloud are recoverable, and when you sell, you’ll want to share the log with the buyer’s agent or hand off at closing.
The Full-Year Calendar
Here’s how the Boulder City-specific annual schedule breaks down:
- March-April: Spring inspection, caulk patch, operator lubrication, weatherstripping check, documentation.
- June: Mid-year check on caulk on the hottest-facing windows (south and west). Re-lube sliding door tracks if dusty.
- July-September: No maintenance actions needed if you did spring – just observe during monsoon events for obvious leaks.
- October-November: Fall inspection, caulk audit and repair, weatherstripping test, hardware audit, documentation.
- December-February: Do any interior-facing maintenance items (hinge lube, storm door adjustments) as convenient.
Yearly total maintenance time: about 3 hours. Compare that to the cost of one premature window replacement – easily $500-$1,500 – and the schedule pays for itself in the first cycle.
See the difference
 Before
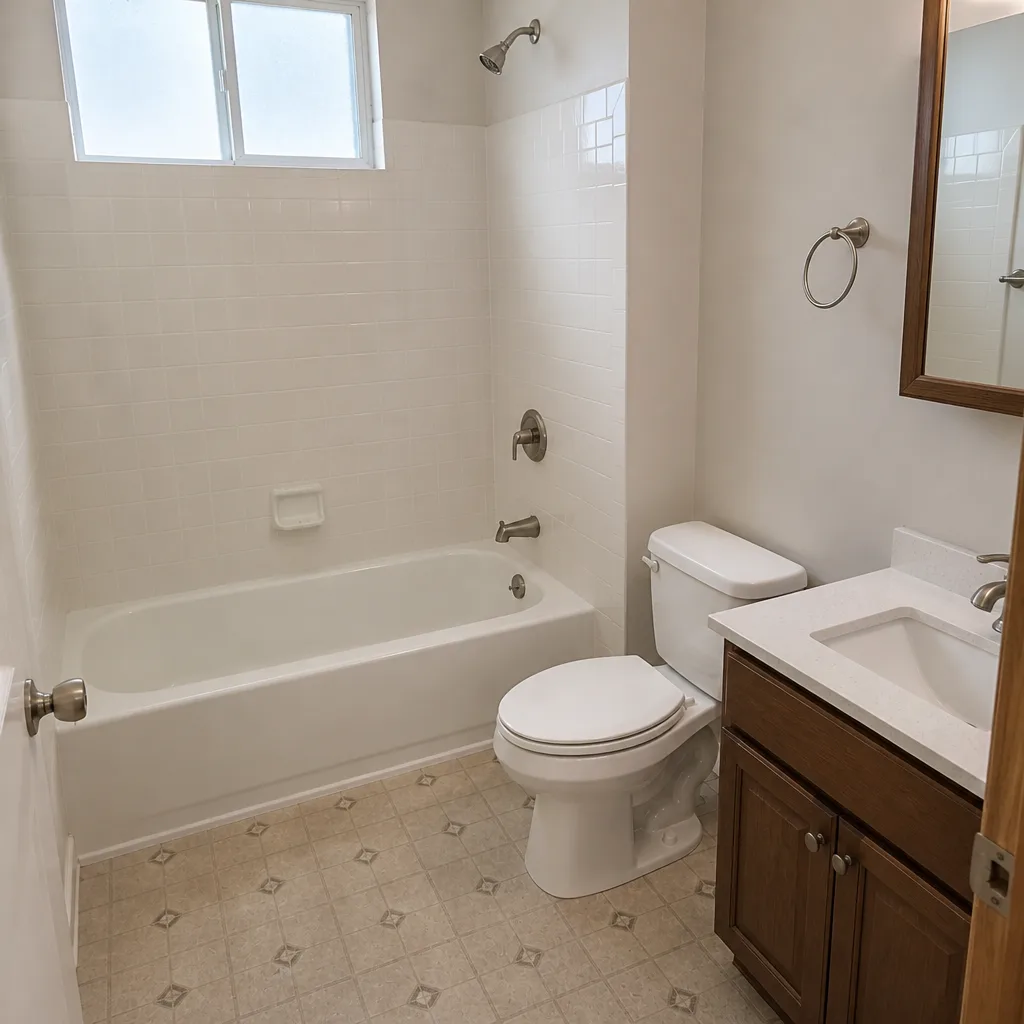 After
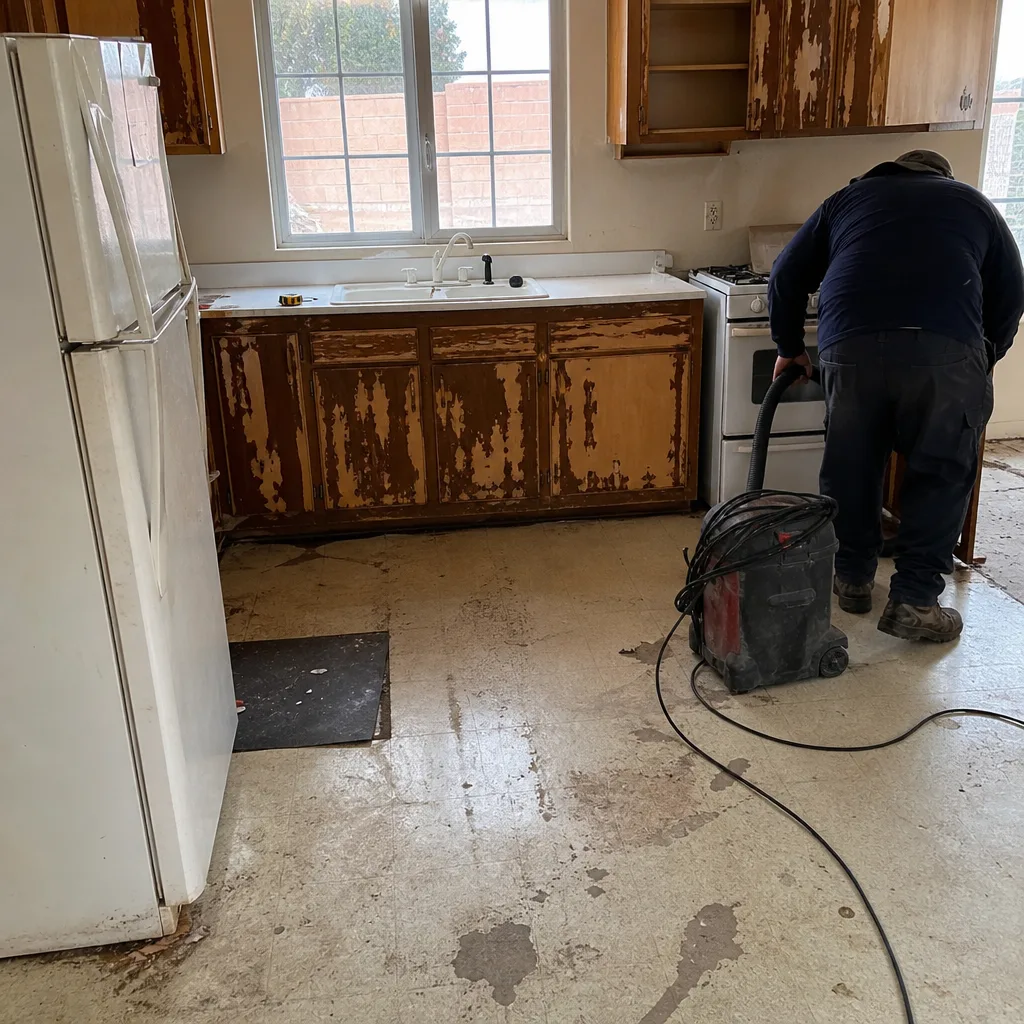 Before
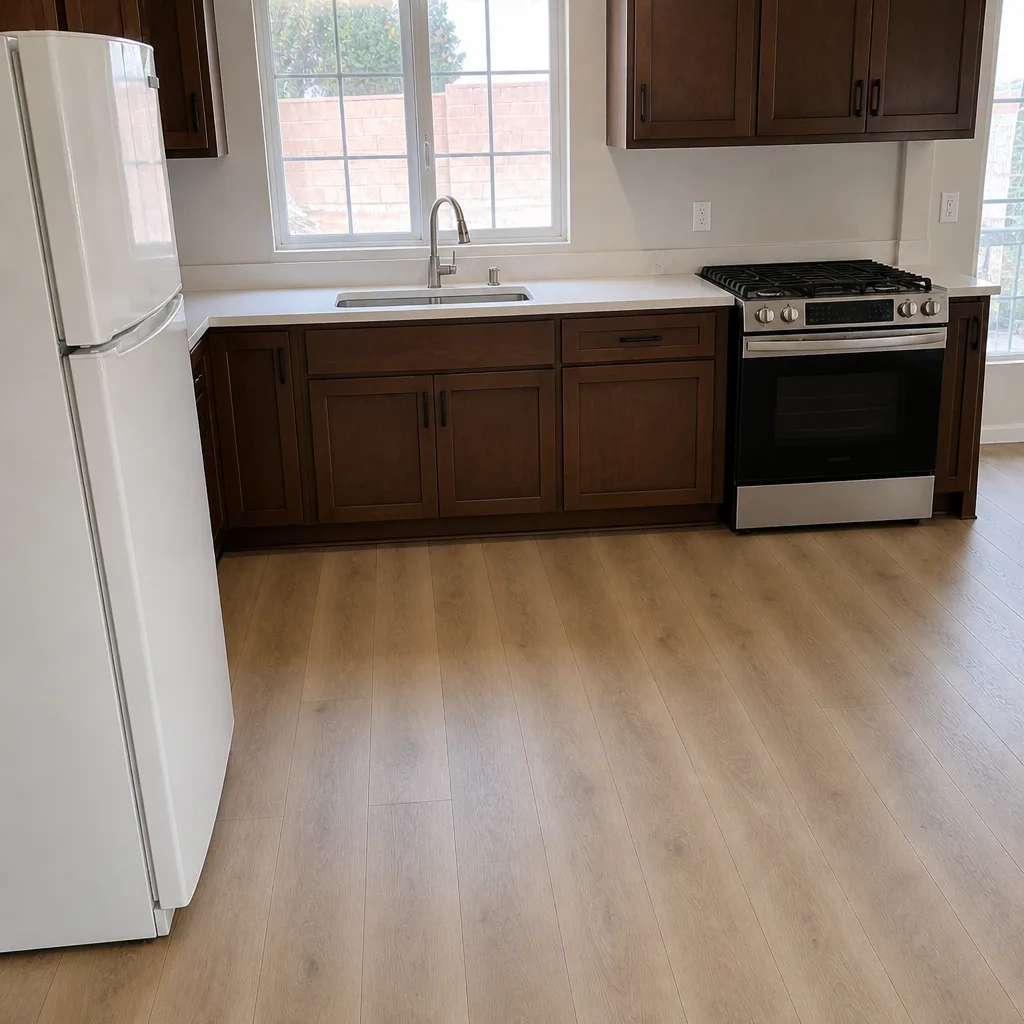 After
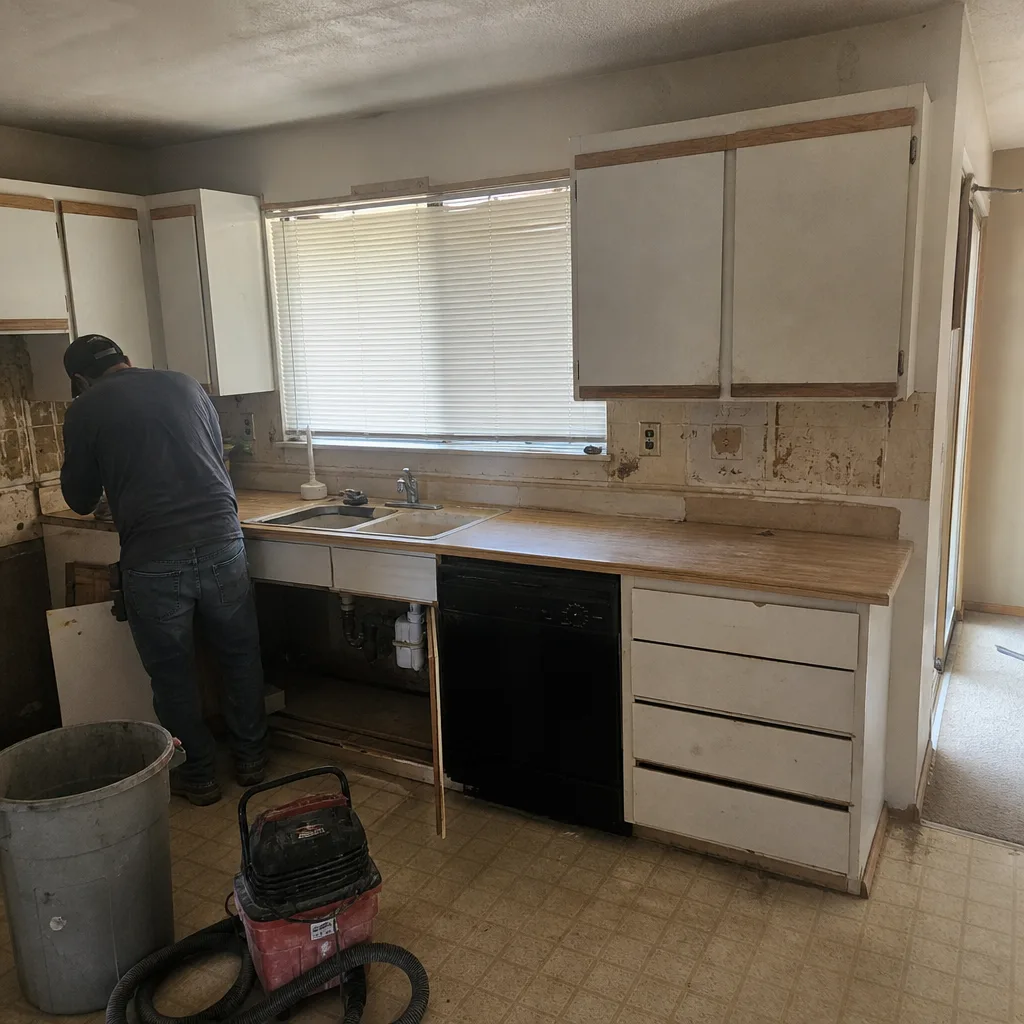 Before
 After
Common Mistakes to Avoid
- Using WD-40 on window tracks or hinges as a “lube.” WD-40 is a penetrating oil that dissipates; it will gum up in two weeks. Use silicone spray or dry PTFE. We’ve fixed this mistake on half the Boulder City homes where we’ve been asked why the slider “keeps sticking.”
- Forcing a stiff operator. On casement cranks, if resistance is high, don’t crank harder. The operator arm will bend or crack. Stop and inspect, then replace the operator if needed – it’s a $100 part versus a $400 window.
- Patching caulk over old, failing caulk. The patch won’t bond, and the failure continues underneath. You must clean out failed caulk carefully before applying new. Always use a caulk removal tool, not a scraper against the window frame.
- Skipping the fall inspection because nothing felt wrong during summer. Damage often doesn’t manifest as a draft until the cold season. By then it’s worse. The fall check is the diagnostic step, not the failure-confirmation step.
- Applying caulk in summer heat. Caulk cures in specific temperature ranges (typically 40-80°F for most products). Applying on a 105°F afternoon causes poor adhesion and cracking within weeks. Do caulk work in early morning.
- Not documenting the maintenance. No log = no warranty leverage. No warranty leverage = full replacement cost. This is the smallest effort with the highest return.
- Assuming newer construction means no maintenance. Factory window seals still need inspection. Modern construction isn’t self-maintaining; it’s just better-engineered and gives a longer window before failure if you inspect.
When to Call a Professional
Most of this maintenance is homeowner-doable. Some of it isn’t, and knowing the difference saves you cost and risk. Call a professional when:
- You find rotted or soft wood around any window or door frame. This is structural damage, not a sealant issue, and repairing it correctly requires carpentry scope beyond homeowner level.
- Multiple windows are showing glass seal failure – the fogging or condensation inside the panes that never clears. That means the glass unit needs replacement, and on modern windows that’s a specific manufacturer-part process.
- Door frames are out of square – doors that no longer close cleanly, or that rack as they open. This is either a hinge/frame adjustment or a structural movement issue, both beyond routine maintenance.
- Counterweight window systems on older Boulder City homes with weight cords showing fraying. Those weights can drop and cause injury. Do not service them.
- Any multi-point locking system that’s misaligned or requiring force to operate. These have tight tolerances and require manufacturer-specific tooling and parts.
Groundwork Construction Co. of Boulder City offers free estimates in Boulder City. Our technicians have up to 12 years of experience across windows and doors, and we work with the brands that perform in desert climates – Andersen, Pella, and Marvin among them. Every job comes with our 730-Day Done Right Promise, calls answered by a live person 24/7, and upfront pricing with no surprises. When you’re ready to look at the full scope beyond maintenance – new windows, new doors, or the whole exterior envelope – call (888) 282-1693 for a free estimate and design consult.
Frequently Asked Questions
Twice a year – once in March-April before summer heat peaks, and once in October-November after monsoon season. Because Boulder City’s UV index hits 11+ in summer and the elevation accelerates sealant degradation, this twice-yearly cadence is the minimum. A mid-June spot-check on south and west-facing windows is worth adding.
UV-degraded caulk that goes unaddressed for years. Caulk loses adhesion and flexibility in Boulder City’s sun faster than most product literature assumes. The 5-7 year replacement cycle for silicone caulk is the single most important maintenance benchmark, and most premature failures we see are caulk that was never inspected.
Foam bulb weatherstripping typically lasts 4-6 years in Boulder City’s heat. Vinyl or rubber weatherstripping lasts 5-8 years. Compression-set test the weatherstripping with your thumb every 6 months – if it doesn’t spring back, replace it. Replacement cost is modest and the energy savings more than cover it.
Yes – caulk inspection, lubrication, weatherstripping testing, and basic patching are homeowner-level for most people. Don’t attempt: rotted wood repair, counterweight window system repair, multi-point locking system disassembly, or glass seal replacement. Those need trained professionals. If it involves removing a window sash or touching a counterweight balance, call us.
Most product warranties don’t void solely for lack of maintenance, but they usually require maintenance to have been performed. If you file a claim with no record, expect the manufacturer to ask. A dated photo log with records of what was done is the strongest warranty protection. It’s the same record that helps at resale.
Both. We handle maintenance, repair, and full replacement, and we work with the top-tier brands – Andersen, Pella, and Marvin among them. For a full replacement scope, we provide a free design consult and a written, upfront quote. Every project is covered by our 730-Day Done Right Promise – if it’s not done right, we make it right. Call (888) 282-1693 for an exact quote; estimates are free.
The Bottom Line
Windows and doors are the part of your home that moves every day, and movement plus UV plus Boulder City’s elevation is what kills them early. The schedule that works here: inspect caulk and weatherstripping every 6 months, lubricate hardware on the schedule appropriate to each type, document everything with dated photos, and complete caulk replacement on a 5-7 year cycle. That’s about three hours a year and keeps a 30-year window from becoming a 15-year window. If you’d rather have the work done and documented by a professional with a 730-Day Done Right Promise and live-person answers 24/7, Groundwork Construction Co. of Boulder City is here – call (888) 282-1693 for a free estimate.
Written by the team at Groundwork Construction Co. of Boulder City.