Last updated November 18, 2026






Free written scope consultation - allowances, timeline, and change-order rules on paper before a single trade is scheduled
Windows & Doors Warning Signs Every Homeowner Should Know
Here’s what most homeowners never see: the flashing tape behind your new window. It’s the thin, sticky membrane that keeps water out of the wall cavity, and once the trim and siding go back on, it’s invisible forever. That’s precisely why a rushed installer can skip it and get away clean – because you won’t know for 12 to 18 months, when the sheathing behind the wall is soft and the drywall under the sill is staining. We’ve walked into Boulder City homes where brand-new windows looked flawless on the surface and were already funneling water into the framing. This guide shows you exactly what to inspect during and right after a window or door job so you’re not discovering problems on your own timeline. The five documented steps, four on-the-spot tests, and three post-install check windows in here are the same ones our crews follow.
Quick Answer
The warning signs of a bad window or door installation are mostly invisible until water damage surfaces a year or more later – so the real safety net is documentation and testing while the crew is still on site. Before anything gets covered, you should have photos of five steps: flashing tape, foam fill, shim placement, rough sill slope, and finished sealant. Then test operation, lock engagement, daylight gaps, and condensation drainage before the crew leaves, and repeat the checks at 30 days, 90 days, and one year.
Styles & brands we work with
- Kitchen remodeling
- Bathroom remodeling
- Home additions & ADU
- Roofing
- Windows & doors
- Driveway & pavers
- Fence
Table of Contents
- Why Bad Window and Door Work Stays Hidden for 12-18 Months
- The 5 Installation Steps You Must Photograph Before They’re Covered
- How to Test a Newly Installed Window Before the Crew Leaves
- Bid Warning Signs Specific to Window and Door Work
- What Improper Shimming Looks Like After the Fact
- The 30-Day, 90-Day, and 1-Year Checks Every Homeowner Should Do
- Door-Specific Warning Signs: Patio, Entry, and Sliders
- Boulder City Installation Conditions That Expose Bad Work
Why Bad Window and Door Work Stays Hidden for 12-18 Months
A poorly installed window or door rarely fails loudly. It leaks quietly, air-seeps quietly, and rots the wall cavity quietly. The reason the damage takes a year or more to surface comes down to how water and air move through wall assemblies.
When flashing is missing or wrong, rain that gets past the cladding has nowhere to go but into the sheathing. Water-soaked oriented strand board doesn’t fail on day one. It slowly loses structural strength, swells, and turns soft over a couple of seasons of wetting and drying. The visible evidence – a stain spreading across the drywall under the sill, a bubbling paint edge, a musty smell near the frame – only shows up after the framing has been absorbing moisture for a long stretch. The same lag applies to air leakage. A window installed out of square with poor foam fill will whistle and let cold air in, but a lot of that heat loss is buried behind trim and only becomes obvious when you get the first real cold snap or the first big summer utility bill.
That gap is the whole problem. By the time the evidence appears, the crew that installed it is gone, and you’re the one chasing a warranty or paying to redo the opening from the sheathing out. In our experience, the fix for a badly flashed window runs far higher than the original install because you’re now replacing sheathing, damaged framing, and finish carpentry, not just the unit.
The lesson isn’t that windows and doors fail. It’s that the failure is designed into the sequence of the job. The steps that matter most all happen before the trim goes up, and they’re all things you can demand to see in a photo. This guide is built around that idea: catch it while it’s still the contractor’s responsibility, using evidence, not hope.
The 5 Installation Steps You Must Photograph Before They’re Covered
This is the core of the guide. Ask for photos of these five steps on every opening, taken after the work is done but before trim, siding, or interior casing covers it up. A professional installer won’t hesitate – we take these photos as standard practice. If a crew gets defensive about a camera, that tells you something.
- Flashing tape on the rough sill and jambs. The sill should have a sloped pan or a back-dam, with flashing tape lapped shingle-style up the jambs and under the head. Ask for a clear shot of the full sill length. No tape or tape that doesn’t overlap properly means water has an open path into the wall.
- Foam fill around the frame. Low-expansion window-and-door foam should fill the gap between the rough opening and the frame, continuous and full-depth. Gaps you can see daylight through in a photo are air and bug highways. Too much high-expansion foam is also a problem – it can bow the frame out of square, so the photo lets you check that the fill looks controlled, not bulging.
- Shim placement. Shims should sit at the corners and at the lock and hinge points, not floating in the middle of the frame. A photo of the shims in place shows the window was leveled and plumbed before the foam set. Improper or missing shims are the number one cause of a window that operates stiff a year later.
- Rough sill slope. The rough sill needs a slight back-to-front slope so any water that reaches the pan drains outward. On a photo it’s subtle but visible as a slight angle. Flat or back-sloped sills trap water against the interior edge of the frame and feed it into the wall.
- Finished sealant and flashing integration. The last photo shows the completed weather barrier: sealant runs around the exterior perimeter, head flashing integrated with the cladding above, and no voids or skipped runs. This is the belt-and-suspenders layer that has to be continuous to work.
Here in Boulder City, with our wind-blown dust and intense sun, the sealant step deserves special attention. UV degrades many sealants fast, and the dust that settles into any void is a moisture trap. Ask which sealant was used and whether it’s rated for exterior use in high-UV climates. If nobody can answer that, that’s a red flag worth acting on.
How to Test a Newly Installed Window Before the Crew Leaves
Before the crew packs up, walk every opening and run four tests. Each takes under a minute, and each one catches a different class of problem. If something fails, it gets fixed while the ladder is still up and the warranty is squarely on the contractor – not six months from now.
- Operation smoothness. Open and close each window and door fully, by hand, through the full range. It should glide with even resistance. A window that binds, hangs, or needs a second hand to close is likely out of square or over-shimmed. Stiffness doesn’t improve with time; it gets worse.
- Lock engagement. Close the window and engage the lock. The sash should draw in cleanly with light pressure, and the lock should catch without forcing. A lock that needs a hard push or won’t fully engage means the frame or sash is out of alignment.
- Visible daylight gaps. From inside, with the window closed and locked, look along the perimeter of the sash and frame. Any daylight peeking through is a weather seal failure. Check at the head, the sill, and both jambs.
- Condensation channel drainage. The bottom of the frame should have weep holes or a drainage channel that lets water exit. Pour a cup of water in the sill channel and watch it drain out the exterior weep holes. If water pools and sits, the drain is blocked or installed backward – a leak waiting for the next storm.
Run the same tests on an entry or patio door: open and close the slab or panel, check the lock and deadbolt lineup, and look for gaps where the weatherstrip meets the frame, particularly at the threshold. A door that drags on the threshold or needs a shoulder to latch is telling you the shim and hinge alignment is off.
If you’re comparing quotes for windows alongside other exterior work, our guide to Groundwork Construction Co. of Boulder City home covers how the company handles full-scope exterior projects and what to expect from a single-contractor build.
Bid Warning Signs Specific to Window and Door Work
The strongest predictor of a bad window or door installation is a bad bid. Vague paperwork leads to vague work, and the corners that get cut are exactly the ones you wrote down nowhere. Read the bid line by line before you sign.
- Vague scope around flashing and weather barrier. A proper bid names flashing, weather-resistive barrier, and sealant as line items. If the scope just says “install windows” and stops there, the flashing may or may not happen – and you’ll never be able to prove which.
- No mention of permitting or inspection. Window and door replacements that alter rough openings, and most door installations, generally require a permit and an inspection in Boulder City. A bid that doesn’t mention permitting at all is a warning. Ask who pulls the permit. A contractor who brushes that off is either unlicensed for that scope or hoping nobody calls.
- Day-rate pricing with no product specs. A bid that bills by the day without naming the exact window or door line, the glass package, and the warranty is a bid you can’t compare to anyone else’s. You should see the specific brand and model. We work with brands like Andersen and Marvin on the window side because you can compare them spec for spec – and the same goes for premium surfaces elsewhere, like Wellborn cabinetry or Cambria quartz, where naming the product is standard.
- No written workmanship warranty. The material warranty from the manufacturer covers the unit, not the labor that put it in. If the bid doesn’t state a workmanship warranty in writing, you have none. Ask for the number of days, in writing.
- Bid delivered with no site visit. Window and door dimensions come from measuring the actual rough openings, not from a brochure. A quote built from a photo and a rough count is a quote built to be revised upward once the real openings are opened up.
Our own standard is no-hassle upfront pricing: the number you see is the number you pay, and the 730-Day Done Right Promise backs the workmanship in writing. That’s the benchmark you should hold every bid against, whatever company you choose. A quote that can’t tell you the product, the flashing plan, the permitting path, and the warranty length isn’t a quote – it’s a guess.
What Improper Shimming Looks Like After the Fact
You can often catch a bad shim job without pulling any trim, because crooked shimming telegraphs itself through the window’s behavior and appearance. The frame is supposed to be dead plumb and level within a small tolerance. When it isn’t, the whole opening tells on the installer.
Here’s what to look for after the fact:
- A visible gap that’s inconsistent around the sash. Measure the reveal – the narrow gap between the sash edge and the frame – at all four sides. It should be even. A reveal that’s tight at one corner and wide at the opposite means the frame is racked.
- Operations that changed with the season. A window that opened fine in summer but binds in winter, or vice versa, is a sign the frame is under stress and moving with temperature. Properly shimmed and foamed frames don’t behave that way.
- Lock or deadbolt that won’t line up. If the strike plate and latch drifted out of alignment after the job, the frame has twisted. That’s shim and screw placement, not a defective lock.
- Air leakage at one corner. On a windy day, run your hand along the interior perimeter. A concentrated draft at a single corner usually points to a missed shim and a foam void in that spot.
- Hairline cracks in the drywall around the opening. Movement in an under-shimmed frame transfers to the interior finish. Cracks radiating from the window corners within the first year are a symptom worth investigating.
If you’re already seeing any of these, don’t wait for the leak. Shimming and framing problems get corrected relatively inexpensively while the opening is still accessible; once water is involved, you’re into sheathing and framing repairs. In our experience in Boulder City, the homes most likely to show shim problems are the older ones with non-standard rough openings – the frame gets forced into a space that was never square to begin with.
The 30-Day, 90-Day, and 1-Year Checks Every Homeowner Should Do
The crew leaves, the trim is up, and the job looks done. That’s when the real inspection calendar starts. Problems that don’t show during the on-site test often appear after a few weeks of weather and settling. These three checks catch them while they’re still the contractor’s responsibility.
At 30 days:
- Open and close every window and door through its full range. Note any that have stiffened since installation.
- Look for cracks in interior caulk or paint at the window corners.
- Check the exterior sealant lines for cracking, shrinkage, or separation, especially on south- and west-facing walls where Boulder City sun hits hardest.
- Run your hand along the interior perimeter for any new drafts.
At 90 days:
- Repeat the operation and lock checks. Seasonal temperature swings will have exposed anything marginal.
- Inspect the interior drywall under sills and around door thresholds for any staining, softness, or a musty smell – the earliest visible sign of a flashing failure.
- Look at the exterior flashing and weather barrier where it meets the cladding. Any lifting, cracking, or visible gap gets reported in writing to the contractor now.
- Pour a cup of water into the sill channel again and confirm the weep holes still drain freely.
At one year:
- Do a full operation and seal check on every opening.
- Check the exterior sealant again and plan for a maintenance reseal where needed – UV exposure makes this a routine, not a repair.
- Look for any warping, delamination, or fogging between the glass panes.
- Confirm the workmanship warranty window is still open. Under the 730-Day Done Right Promise, you have far longer than a year, but a one-year review is a smart habit regardless of who did the work.
Put these dates in your phone the day the crew finishes. A one-year check done on time catches a slow leak while the contractor’s responsibility is still live, and it gives you a written record if the problem turns into a warranty claim.
Door-Specific Warning Signs: Patio, Entry, and Sliders
Doors fail in different ways than windows because they carry more weight, move more often, and sit at the most-trafficked part of the wall. The warning signs are worth knowing on their own.
- A threshold that rocks or feels spongy. The sill pan should be solid and sloped to drain. A threshold that moves underfoot was set on an uneven or under-supported base, and that’s where water starts.
- Daylight under the door. From inside, look at the threshold line. Any strip of daylight means the weather seal and sweep are misaligned or the slab is hanging low.
- A slider that jumps or derails. Patio sliders should track straight with even resistance. Jumps and sticking point to an out-of-level frame or a mis-set track.
- Weatherstrip that isn’t compressing evenly. Run a dollar bill around the closed door perimeter. It should drag with even resistance all the way around. Where it slides free, the weatherstrip isn’t sealing.
- Rust or water marks on the interior threshold or floor. That’s water getting in at the sill and coming through, and it’s the sign to address before the subfloor takes on damage.
- A deadbolt that doesn’t line up with the strike plate. Misalignment after installation means the door frame or slab is out of square. It doesn’t fix itself.
Exterior door replacements are one of the highest-risk openings in the house because they combine a large rough opening, heavy units, and a threshold that has to drain. If you’re planning a door as part of a bigger addition or entry rework, our Home Additions & ADU in Boulder City page covers how openings are handled when they’re part of a larger build.
Boulder City Installation Conditions That Expose Bad Work
Boulder City puts window and door installations through a specific set of stresses that a mild-climate installation might never face. That’s good news for you as a homeowner – the local conditions are an early-warning system.
The first is wind. Boulder City sits in a windy corridor, and wind-driven rain finds every flashing gap. A window with a proper sill pan and back-dam sheds that water back out; one without it lets the wind push water straight into the sheathing. The dust that rides those winds is the second factor: fine desert dust settles into any void in the sealant or foam, holds moisture against the framing, and speeds up the rot. The third is UV. Our sun is relentless on the south and west elevations, and many sealants break down within a season or two if they aren’t rated for it. If a crew uses the same exterior sealant they’d use anywhere, it’s a warning sign. In our experience, the sealant step is the one most often done with whatever is in the van rather than what the climate calls for.
Boulder City also has its share of older homes, particularly in the historic district, with non-standard rough openings and older wall assemblies. A modern replacement unit dropped into an opening that was never square is exactly the scenario that generates shim and flashing failures. Those jobs need extra care in measuring and framing, not a same-size swap.
Boulder City permitting adds another layer. Window and door replacements that change rough openings, and most door and structural openings, need a permit and an inspection. Ask who pulls it. Work done without one can complicate a future sale, and the inspection is one more set of eyes on flashing and framing before the walls close up. If your plan also touches the driveway or hardscape near the entry, our Driveway & Pavers in Boulder City and Fence Installation in Boulder City guides are worth reading alongside this one so the exterior of the house is handled as one coordinated project.
Common Mistakes to Avoid
- Letting trim go on before you’ve seen the photos. Once the casing and siding are back, the flashing, foam, and shims are hidden for good. Hold the job – literally – until the photo documentation arrives.
- Accepting a bid that doesn’t name the product. “New energy-efficient windows” isn’t a spec. You should see the brand, model, and glass package so you can compare quotes side by side.
- Skipping the on-site test because the crew says it’s fine. Open the window, check the lock, look for daylight, and pour water in the sill yourself. A five-minute walk-through is the cheapest insurance you’ll ever buy.
- Assuming the manufacturer warranty covers the install. It covers the unit, not the flashing the installer may have skipped. The workmanship warranty is separate and has to be in writing.
- Not asking who pulls the permit. In Boulder City, a contractor who won’t answer that question is the one you don’t hire. Permits and inspections are on your side.
- Missing the one-year check because life gets busy. The slow leak that starts at month 14 is the one you find when it’s no longer the contractor’s problem. Set the reminders the day the crew leaves.
- Ignoring the first sign of interior staining. A stain under a sill in month two is a flashing problem caught early; the same stain at year two is a wall cavity rebuild. Report it in writing immediately.
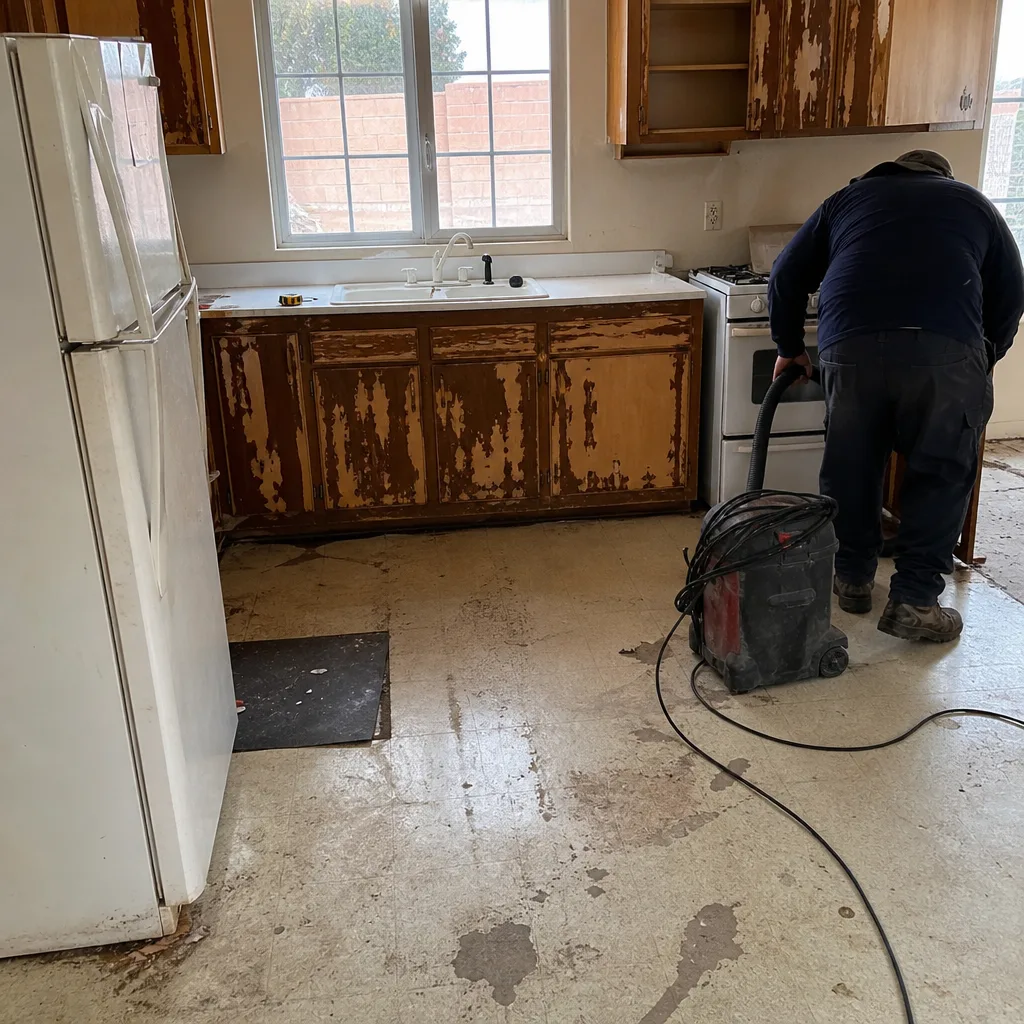
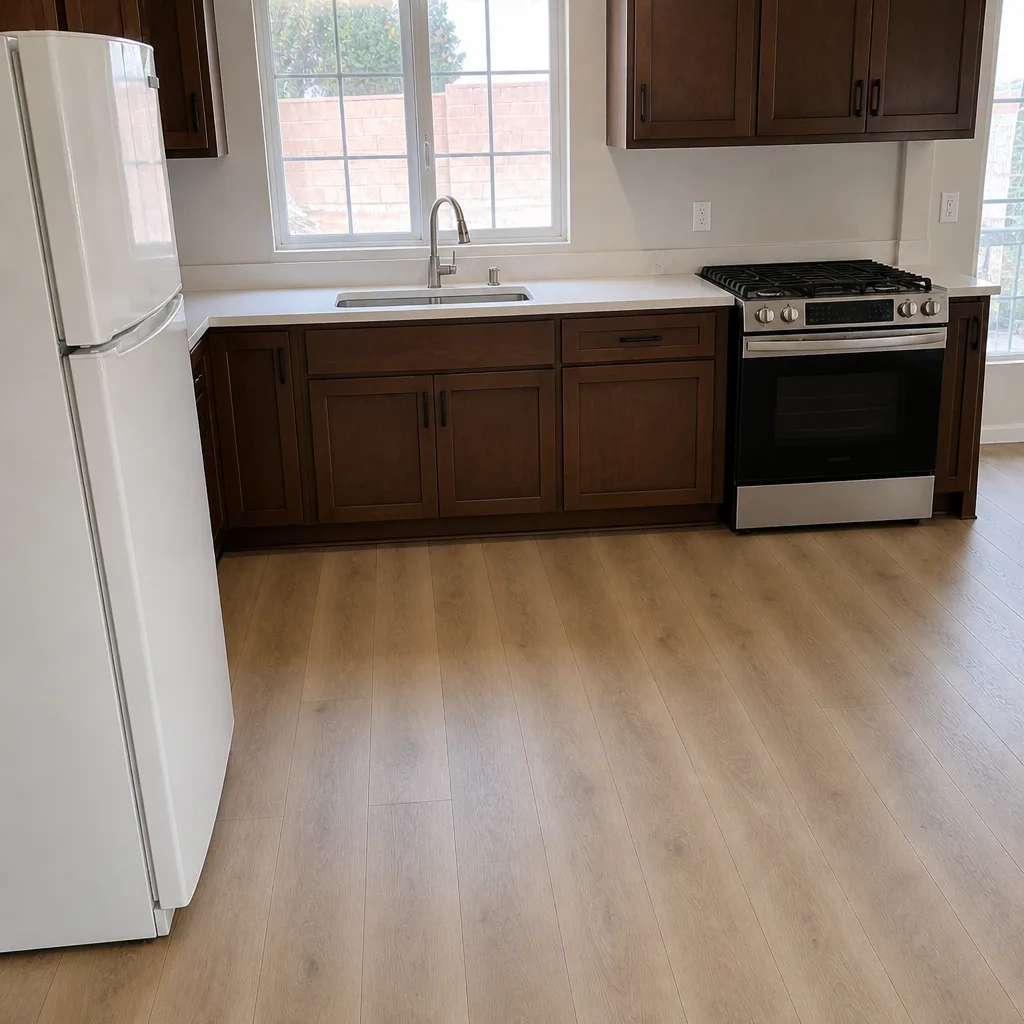
See the difference
 Before
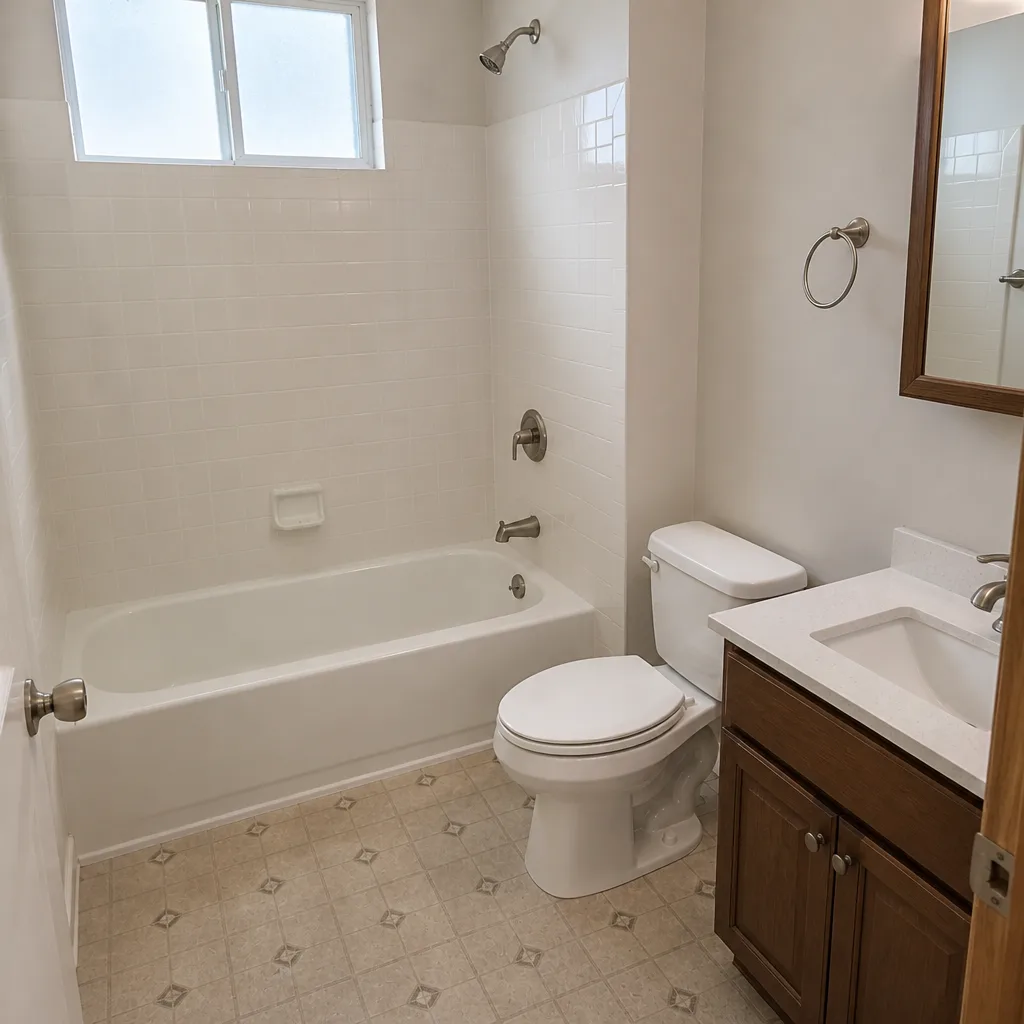 After
 Before
 After
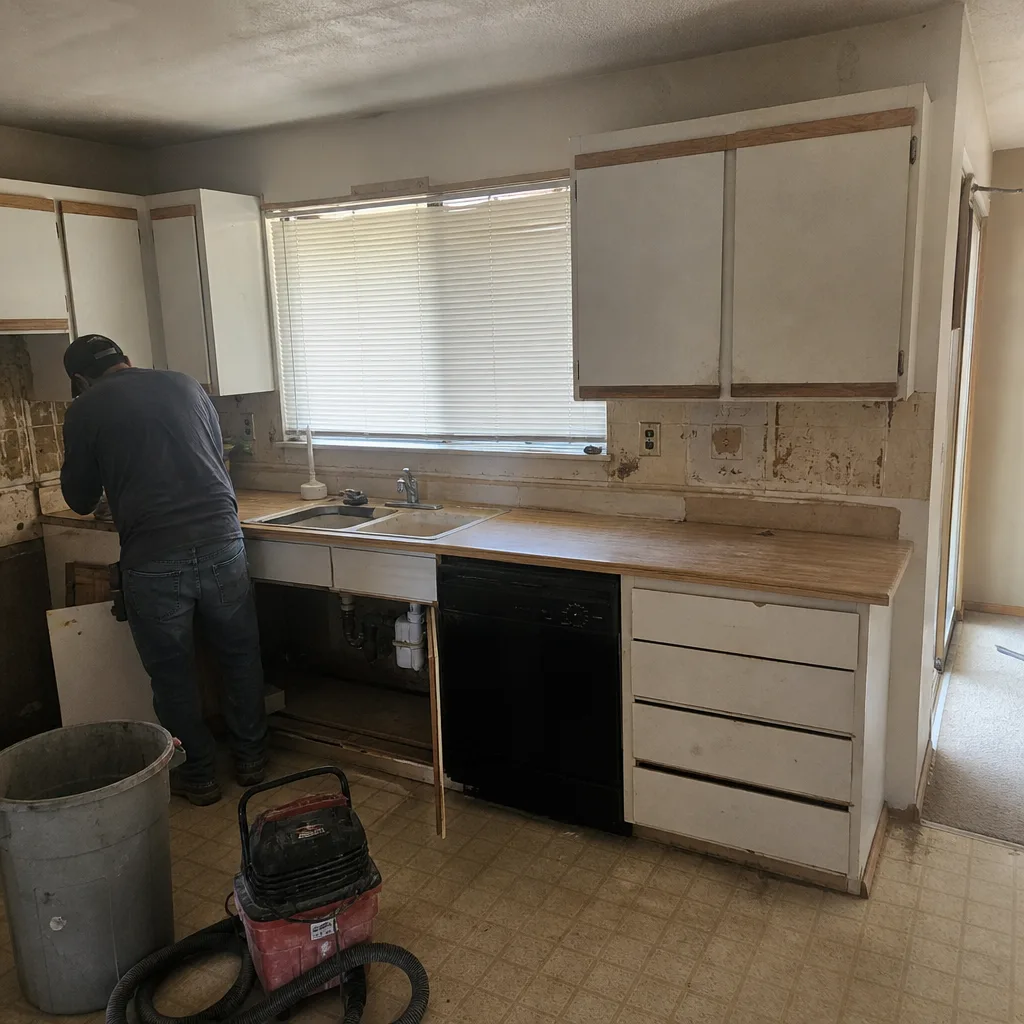 Before
 After
When to Call a Professional
Some of what’s in this guide you can do yourself – the on-site tests, the 30-day and 90-day walk-throughs, and the photo requests are all things a homeowner can run. But several scenarios are firm calls to a professional. If the job was done and you’re seeing staining, softness, or a musty smell near an opening, stop and call. If a window is binding in winter, a door is dragging on the threshold, or the deadbolt stopped lining up, the frame is out of square and it won’t correct itself. If the flashing or weather barrier looks wrong in a photo, get an independent opinion before anything else closes over it. And any opening that touches a wall carrying water or air into the house is worth having inspected while the fix is still small.
Groundwork Construction Co. of Boulder City offers free estimates in Boulder City – call (888) 282-1693. Our technicians have up to 12 years of experience, calls are answered by a live person 24/7, and every job is backed by the 730-Day Done Right Promise.
Frequently Asked Questions

The fastest tells are a window that binds when you operate it, a lock that won’t fully engage, visible daylight around the sash with the window closed, or water that pools in the sill channel instead of draining out the weep holes. Any one of those means something in the frame, shim, or flashing sequence went wrong. Call (888) 282-1693 if you want a second set of eyes – estimates are free.
No – and that’s exactly the problem. Flashing sits behind the weather barrier and trim, so it’s covered for good once the job is finished. That’s why you ask for photos of the flashing, foam, and shims before those steps get closed over. If a contractor can’t produce those photos, that’s a warning sign, not a technicality.
Often yes. Replacements that change the rough opening, and most door and structural openings, generally require a permit and an inspection in Boulder City. Ask your contractor who pulls the permit before work starts. A contractor who waves that off is telling you something about how the rest of the job will go. Call (888) 282-1693 to talk through your specific project.
Most water damage from a missed flashing step surfaces between 12 and 18 months after the job, once the sheathing has absorbed moisture through at least one full wet season. That’s why the 30-day, 90-day, and one-year checks matter – they catch problems while the contractor’s responsibility is still live.
The reveal – the small gap between the sash and the frame – is uneven at the corners rather than even all the way around. You may also see the lock or deadbolt drifting out of alignment, the window binding more in one season than another, or a hairline crack radiating from a window corner in the drywall. Any of those points to shim and frame problems.
It varies by company, and it should always be in writing. Material warranties from the manufacturer cover the unit, not the labor, so the workmanship warranty is the one that actually protects you against installation mistakes. Our 730-Day Done Right Promise covers the workmanship for two full years – if it’s not done right, we make it right. Call (888) 282-1693 for details on your project.
The Bottom Line
The window and door work that fails is almost always the work you can’t see – the flashing, foam, shims, and sill slope that get covered up in the first few hours of the job. The defense is documentation: photo proof of the five steps before they close, four on-the-spot tests before the crew leaves, and the 30-day, 90-day, and one-year checks that catch slow leaks while the contractor is still responsible. Pick a bid that names the product, the permitting path, and the workmanship warranty in writing. Built to last, backed in writing – that’s the standard every window and door job in Boulder City should meet.
Whether you’re planning a replacement, an addition, or a full exterior rework, one company can handle it from foundation to finish line. Groundwork Construction Co. of Boulder City offers a free project estimate and design consult, upfront pricing with no surprises, and $1,000 off projects over $10,000, with 0% financing for 18 months available. Call (888) 282-1693 to schedule your free estimate – a live person answers, 24/7.
Written by the team at Groundwork Construction Co. of Boulder City.