Last updated November 18, 2026

Free written scope consultation - allowances, timeline, and change-order rules on paper before a single trade is scheduled
DIY vs Professional Bathroom Remodeling: What’s Safe to Do Yourself
The most expensive bathroom repairs we’ve seen in Boulder City don’t come from bad contractors. They come from homeowners who tiled over uncured cement board or skipped the moisture barrier because a YouTube video made it look optional. The damage hides behind the tile for a year or two, then shows up as a soft spot in the subfloor, a cracked grout line that keeps coming back, or a ceiling stain in the room below. This guide draws a hard line between the tasks a confident DIYer genuinely can handle and the ones that have quietly wrecked thousands of dollars in finished bathrooms. You’ll get a task-by-task breakdown, the Nevada permit rules that matter, and the real cost math on weekend projects that go sideways.
Quick Answer
Painting, swapping hardware, replacing a toilet, and installing a vanity or mirror are safe DIY projects for most homeowners. Waterproofing, shower pan construction, moving plumbing or electrical lines, and any tile work over a wet area are not. Those tasks require licensed trades, permit inspections, and the kind of experience that catches a problem before it’s sealed behind finished material. In short: cosmetic updates you can do; anything that holds back water or carries a permit should go to a professional.
Styles & brands we work with
- Kitchen remodeling
- Bathroom remodeling
- Home additions & ADU
- Roofing
- Windows & doors
- Driveway & pavers
- Fence
Table of Contents
- Where the Line Gets Drawn, and Why Capability Isn’t the Real Question
- Task-by-Task Breakdown: What’s Safe and What Isn’t
- Why Waterproofing Is the One Job You Should Never Handle Yourself
- Nevada Plumbing Permits: What Triggers an Inspection in Boulder City
- How DIY Demo Work Can Compromise a Professional Tile Install
- The Cost Math: When a “Free” DIY Weekend Costs More Than Hiring Out
- How to Participate Without Compromising the Finished Product
- Common Mistakes to Avoid
Where the Line Gets Drawn, and Why Capability Isn’t the Real Question
Most homeowners who ask us about DIY bathroom work are capable people. They’ve built decks, hung cabinets, wired outlets. The problem is that bathroom work has a narrow margin for error that doesn’t show up until much later. A tiled shower that looks perfect on day one can fail in month eighteen because the preslope was too flat or the cement board was screwed to the framing without a moisture barrier behind it. By the time you see the evidence, you’re tearing out thousands of dollars of finished tile to fix a $40 mistake.
The real question isn’t whether you can physically do the work. It’s whether the work will pass inspection, hold up to daily use, and not cost you twice as much to fix later. That reframe changes the calculus on almost every task in a bathroom remodel.
We think about it in three buckets:
- Cosmetic and reversible. Paint, hardware, accessories, mirrors. If you get it wrong, you redo it in a weekend with no damage.
- Structural but visible. Vanity swaps, toilet replacement, light fixture replacement on an existing circuit. Doable if you follow code and use the right materials, and mistakes are usually visible fast.
- Hidden and permanent. Waterproofing, shower pans, plumbing rough-in, electrical rough-in, tile over wet areas. Mistakes hide behind finished surfaces and reveal themselves only after real damage.
Boulder City homes have their own quirks that amplify that third bucket. The desert heat means moisture from a slow shower pan leak doesn’t always show as obviously as it would in a wetter climate – the wood dries out between showers and the rot creeps quietly. Older homes in the Historic District often have original cast-iron drain lines and 1950s plumbing that don’t tolerate rough handling during demo. We’ve pulled out plenty of DIY shower pans where the liner was installed flat on the subfloor with no preslope, and the homeowner had no idea water was pooling until the ceiling below started to bubble.
Task-by-Task Breakdown: What’s Safe and What Isn’t
Here’s the honest split, task by task. If a job isn’t on the safe list, treat it as a professional task, even if you’ve watched every tutorial on the internet.
Safe for a Confident DIYer
- Painting walls, ceilings, and trim. A bathroom needs a moisture-rated paint, but the technique is the same as any other room.
- Swapping cabinet hardware, towel bars, and mirrors. Cosmetic, reversible, and hard to get seriously wrong.
- Replacing a toilet. Turning off the supply, pulling the old unit, and setting a new one on a fresh wax ring is manageable. If the flange is cracked or the subfloor is soft, stop and call a plumber.
- Installing a freestanding vanity where plumbing already exists. Connecting the existing supply lines and P-trap is within reach. Moving the drain line is not.
- Replacing a light fixture on an existing circuit. Turn off the breaker, verify with a tester, use the same wire gauge. If you want a new location or a new circuit, hire an electrician.
- Caulking, grouting touch-ups, and re-sealing. Maintenance you’ll do anyway.
- Final paint and accessory install after the pros leave. This is the best way to participate and shave cost off the total.
Not Safe – Leave It to a Licensed Pro
- Waterproofing membranes and shower pans. This is the single most consequential failure point in any bathroom. Details below.
- Tile in a wet area. The tile itself is forgiving. The substrate, slope, and waterproofing beneath it are not.
- Moving a toilet, sink, or shower drain. Requires permits, a plumbing license, and a real understanding of venting.
- Adding new electrical circuits, heated floors, or vent fans on a new switch leg. Electrical in a wet zone carries real risk.
- Structural changes. Removing a wall, adding a skylight, converting a tub to a walk-in shower that requires new framing.
- Gas line work if you’re adding a gas fixture or heater.
If you want a fuller sense of what a professionally scoped bathroom remodel looks like from the inside, our Groundwork Construction Co. of Boulder City home walks through the full-scope approach we take from demo through final walkthrough. The reason we scope both ends of a project is that the finished product only holds up when every step between them does.
Why Waterproofing Is the One Job You Should Never Handle Yourself
Waterproofing is the one task in a bathroom remodel where getting it 90% right is functionally the same as getting it wrong. Most DIY shower waterproofing failures aren’t dramatic. They’re a fastener through the liner at the wrong spot, a missed pre-slope, or a corner band that didn’t bond because the surface wasn’t clean. That failure leaks a few ounces of water into the framing every shower. Over a year in a desert climate, that’s enough to rot a subfloor and feed mold inside a wall cavity where you’ll never see it until the damage is expensive.
In our experience, the three failure patterns we see most often on DIY Boulder City bathrooms are:
- No preslope under the liner. Mortar-bed shower pans need a slope beneath the waterproof liner so water that gets through the tile and grout drains to the weep holes. Flat liners pool water against the drain ring and the pan eventually fails.
- Fasteners through the membrane. Cement board screwed to the studs through a liquid-applied or sheet membrane creates a direct path for water into the wall. This is the classic leak that shows up as a stain on the ceiling below.
- No moisture barrier behind cement board. In a wet climate this is non-negotiable, and in Boulder City it still matters because showers generate far more moisture than the dry air can pull out through painted drywall fast enough.
The right sequence is: framing checked and corrected, substrate installed per manufacturer spec, corners and seams sealed, membrane applied to the exact mil thickness or sheet lap called for, flood test performed and documented, then tile. A flood test is a 24-hour water-hold at the pan before any tile goes down. If a contractor skips it, that’s a red flag. If you’re doing it yourself and you’ve never done a flood test, that’s your signal to stop.
Tile selection matters here too. Boulder City homeowners often want large-format porcelain or natural stone in a walk-in shower, and both put more stress on the substrate than a smaller mosaic. A pro knows how much deflection the floor framing can tolerate before a large tile cracks along the grout line. That math is not intuitive.
Nevada Plumbing Permits: What Triggers an Inspection in Boulder City
Permit rules are the part of DIY work that catches people by surprise. In Boulder City, most cosmetic work – paint, tile replacement over an existing sound substrate, cabinet refacing, fixture swaps on existing connections – doesn’t require a permit. Structural changes, moving plumbing supply or drain lines, adding or relocating electrical circuits, and any gas line work do. When you pull a permit, you’re agreeing to a rough-in inspection before the walls go back up and a final inspection before the project is called done.
Here’s what actually triggers an inspection on a bathroom project:
- Relocating a shower, tub, or toilet drain. The drain has to be inspected for slope and venting before it’s covered.
- Adding a sink or shower on a new supply line. Rough-in inspection required.
- New or relocated electrical circuits. Including a dedicated line for a heated floor, a new vent fan on its own switch, or a GFCI circuit change.
- Structural changes. Removing or adding walls, changing a window or door opening, adding a skylight.
- Gas work. Any new gas line or fixture connection.
Skipping a permit in Boulder City sounds like a shortcut and almost never is. The county can require you to open finished walls to prove the work was done correctly, and any future buyer’s inspector or appraiser will flag unpermitted work. Insurers can reduce coverage on a claim tied to unpermitted plumbing or electrical. And when you go to sell, the deal can stall on a title search that reveals a bathroom was remodeled without permits.
If your project will need a permit, that’s the moment to talk to a licensed contractor rather than a handyman. A pro pulls the permit, schedules the inspection, and stands behind the work when the inspector walks through. We handle permitting as part of every bathroom remodel we take on, so the finished product is documented, inspected, and defensible if you ever sell the home.
How DIY Demo Work Can Compromise a Professional Tile Install
Demo is the fun part. It’s also the part where the most expensive mistakes happen, because the homeowner does the gut work and then hands a half-demolished bathroom to the tile installer, who now has to work around problems they didn’t create. That sequencing is where we see the most rework dollars burn.
The classic scenario: homeowner pulls out the old tub surround and shower pan, then discovers the subfloor has been softened by a previous leak. They cover it with a fresh sheet of plywood nailed down over the old one, and the tile installer shows up to a substrate that flexes. Large-format tile cracks. The installer can’t fix the subfloor without charging to redo it, and the homeowner now pays for tile demo, subfloor correction, and new tile – three line items they could have handled upfront.
Our rule of thumb for sequencing when a homeowner wants to help:
- Do the demo with the contractor’s blessing and their scope in writing. Ask exactly how far down to strip the room and how to protect the plumbing and electrical you’re leaving in place.
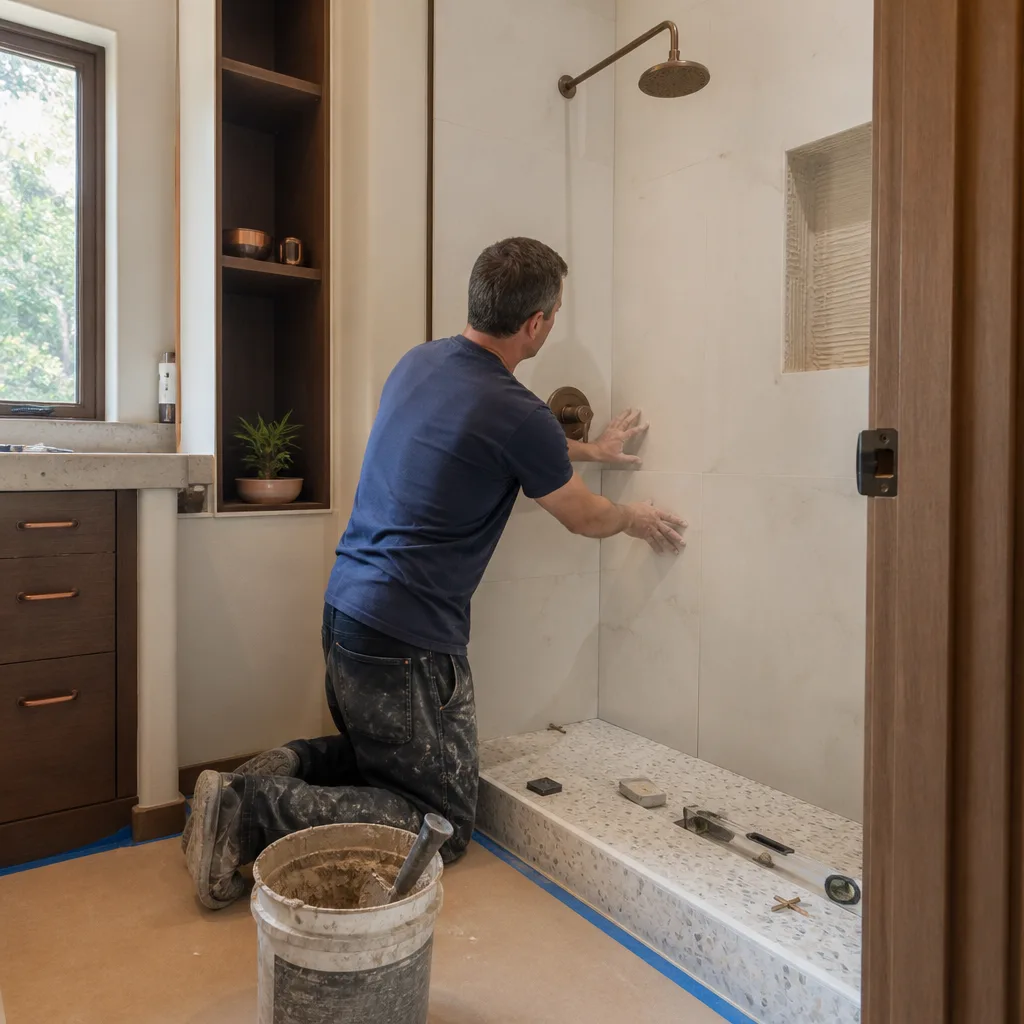
- Stop at the substrate. Don’t install new cement board, plywood, or framing yourself if a pro is doing the tile. Let them inspect and specify the substrate.
- Leave the plumbing rough-in alone. Even if the demo exposes the drain, don’t relocate it.
- Document what you find. Take photos of the open wall and floor. If you find mold, rot, or unexpected plumbing, stop and call the contractor before covering it back up.
- Hold the finish work until the pro is done. Paint, caulk, and accessories are your victory lap.
The same discipline applies to other rooms. If you’re planning a bigger project alongside the bathroom, our guide on Home Additions & ADU in Boulder City covers how remodel sequencing works when a bathroom is one piece of a larger construction plan.
The Cost Math: When a “Free” DIY Weekend Costs More Than Hiring Out
On paper, DIY looks like savings. In practice, the math only works for the tasks that are genuinely reversible. Here’s a rough cost comparison for the three biggest DIY temptation zones in a Boulder City bathroom remodel. These are market ranges, not quotes.
| Task | DIY Material Cost | Pro Installed Cost | Typical Rework Cost if DIY Fails |
|---|---|---|---|
| Paint and hardware (small bath) | $150-$300 | $600-$1,200 | $0 (redo paint) |
| Toilet replacement (same location) | $200-$450 | $450-$900 | $300-$700 (flange repair, water damage) |
| Vanity swap (existing plumbing) | $400-$1,200 | $800-$2,000 | $500-$1,500 (drain corrections) |
| Shower pan and waterproofing | $300-$800 | $1,800-$4,500 | $4,000-$12,000+ (full teardown, subfloor, reframe, retile) |
| Tile install over waterproofing (tub surround) | $600-$1,400 | $2,000-$5,500 | $3,000-$9,000 (tile and substrate removal, reframe, retile) |
| Relocating a drain line | Not DIY | $800-$2,500 | Not applicable |
The pattern is clear. On cosmetic and reversible work, DIY saves you real money. On wet-area and code work, the downside if you get it wrong is five to fifteen times what you saved. And that’s before you count the value of your own weekend, the cost of a permit re-inspection, or the effect on resale if the home inspector flags unpermitted work.
We’ve seen the “free weekend” scenario enough times that we’ve built the process to prevent it. Our no-hassle upfront pricing means you know the installed cost before demo starts, and it’s a firm number – no change orders when the substrate turns out to be worse than expected. The free project estimate and design consult we offer is where that number gets locked in. We also run $1,000 off projects over $10,000 and 0% financing for 18 months, which changes the math on a full bathroom remodel compared to piecemeal DIY attempts spread across a year. Every project is covered by our 730-Day Done Right Promise, so the workmanship is backed in writing for the better part of two years.
How to Participate Without Compromising the Finished Product
Wanting to be part of your own bathroom remodel is a good instinct. The trick is picking work that actually shaves cost without putting the finished product at risk. Here’s what we recommend asking your contractor to leave for you, and why each one is a genuine safe zone.
- Demo, with a written scope. Ask what to strip, what to protect, and where to stop. Demo done to spec saves real labor hours and gives you real ownership of the project.
- Final paint and trim. After the tile is up and the finish carpentry is done, the paint is yours. It’s the last thing done anyway, and it doesn’t touch the waterproofing.
- Hardware and accessory install. Towel bars, mirrors, vanity pulls, shower curtain hardware – all reversible, none of it structural.
- Fixtures you’ve sourced separately. Some homeowners want to shop their own faucet, shower head, or vanity. That works well if the spec is confirmed with the contractor before install so nothing is incompatible.
- Haul-away coordination. Saving on dumpster rental by handling debris removal yourself is a real cost lever, as long as you keep it out of the crew’s work zone.
What you should never ask a contractor to leave for you:
- Waterproofing, shower pan, or any part of the wet-area substrate.
- Plumbing rough-in or electrical rough-in.
- Tile setting in a wet zone.
- Subfloor replacement or any structural correction discovered during demo.
- Final inspection items – those need to be done by whoever holds the permit.
If your project expands beyond the bathroom into the rest of the home – say, a new patio outside, or a new fence to screen a privacy area for the remodel – those are separate scope trades worth handling with the same contractor. Our pages on Driveway & Pavers in Boulder City and Fence Installation in Boulder City cover how those tie in when you’re already mid-project.
Common Mistakes to Avoid
- Tiling over uncured cement board. Cement board needs to cure and be installed with the right fastener pattern and moisture barrier behind it. We’ve pulled up more than one Boulder City shower where the tile was set within hours of the board going up, and the board was still moving under the thinset.
- Skipping the flood test. A 24-hour water hold on the shower pan before tile is the single cheapest insurance you can buy. Skip it and you’re gambling thousands of dollars of finished work on a membrane you never verified.
- Moving a drain without a permit. Boulder City permits exist for a reason beyond paperwork – a re-inspection later can force open walls. Save the headache and pull the permit through a licensed contractor.
- Using the wrong substrate for large-format tile. Modern large-format porcelain needs a stiffer substrate than 1970s shower walls were built to. A pro checks deflection before tile goes up; a DIYer often doesn’t.
- Reusing the old wax ring. If you’re swapping a toilet, buy a fresh ring and inspect the flange. Reusing the old one is the fastest route to a slow leak under the floor.
- Ignoring a soft subfloor. If demo reveals any give in the floor, stop. Covering it with new material pushes the problem into the tile install and guarantees cracked grout lines within a year.
- Running the demo too deep. Removing the wrong framing or hitting a load-bearing member during DIY demo can compromise the whole room. Ask the contractor exactly what to take out and what to leave.
See the difference
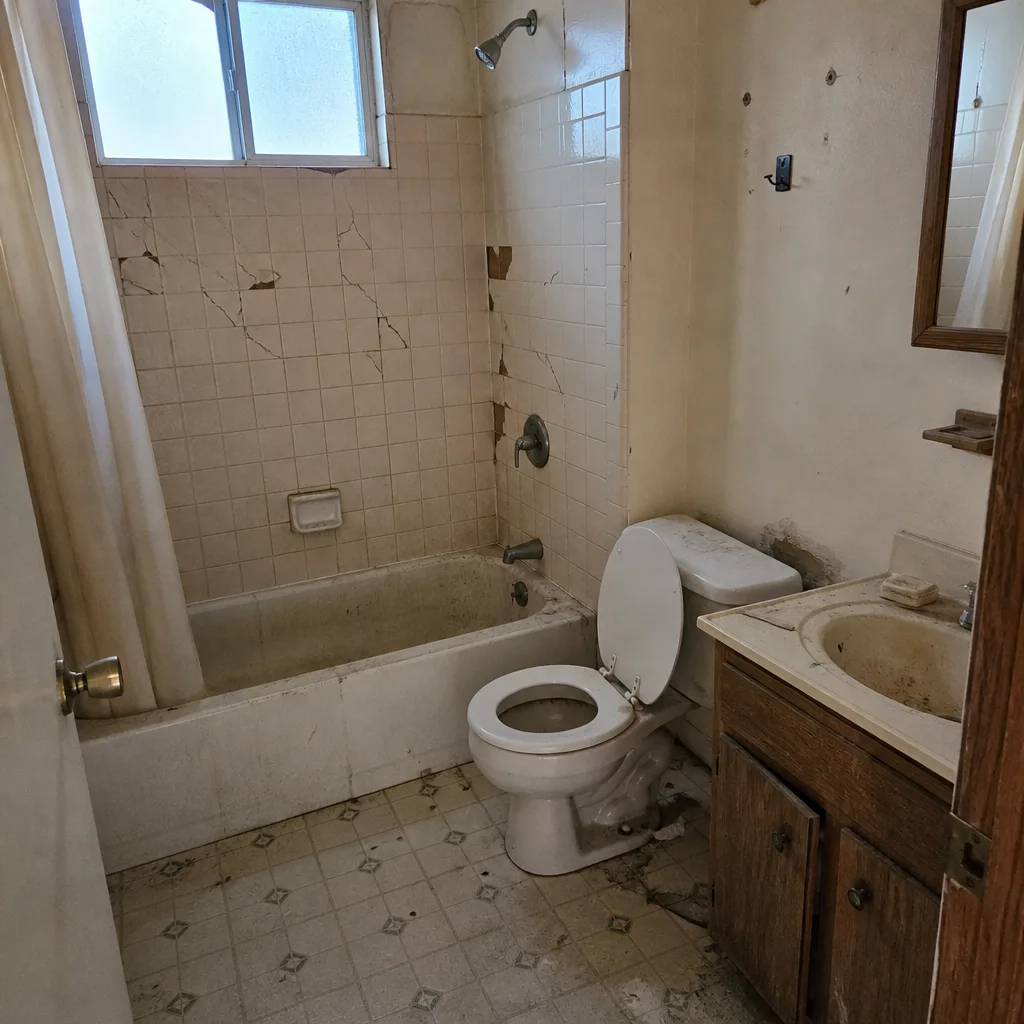 Before
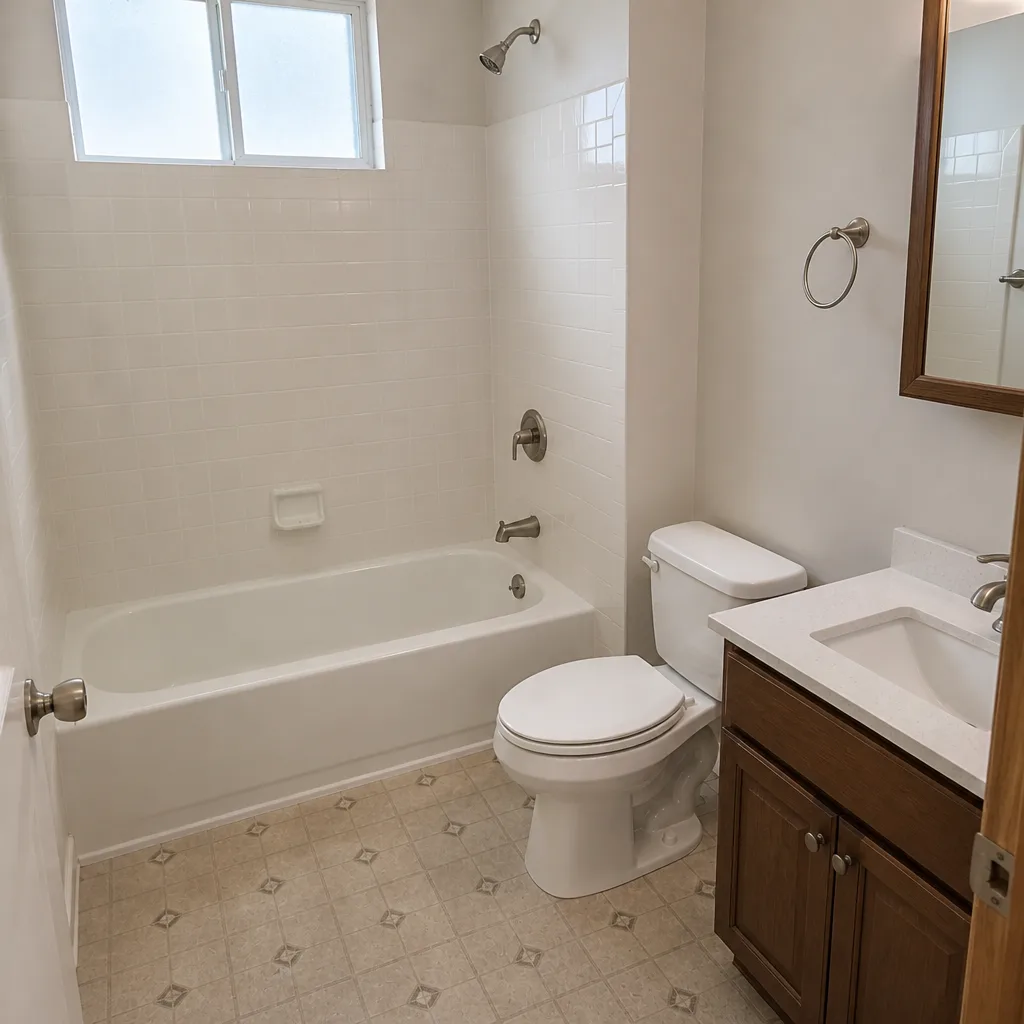 After
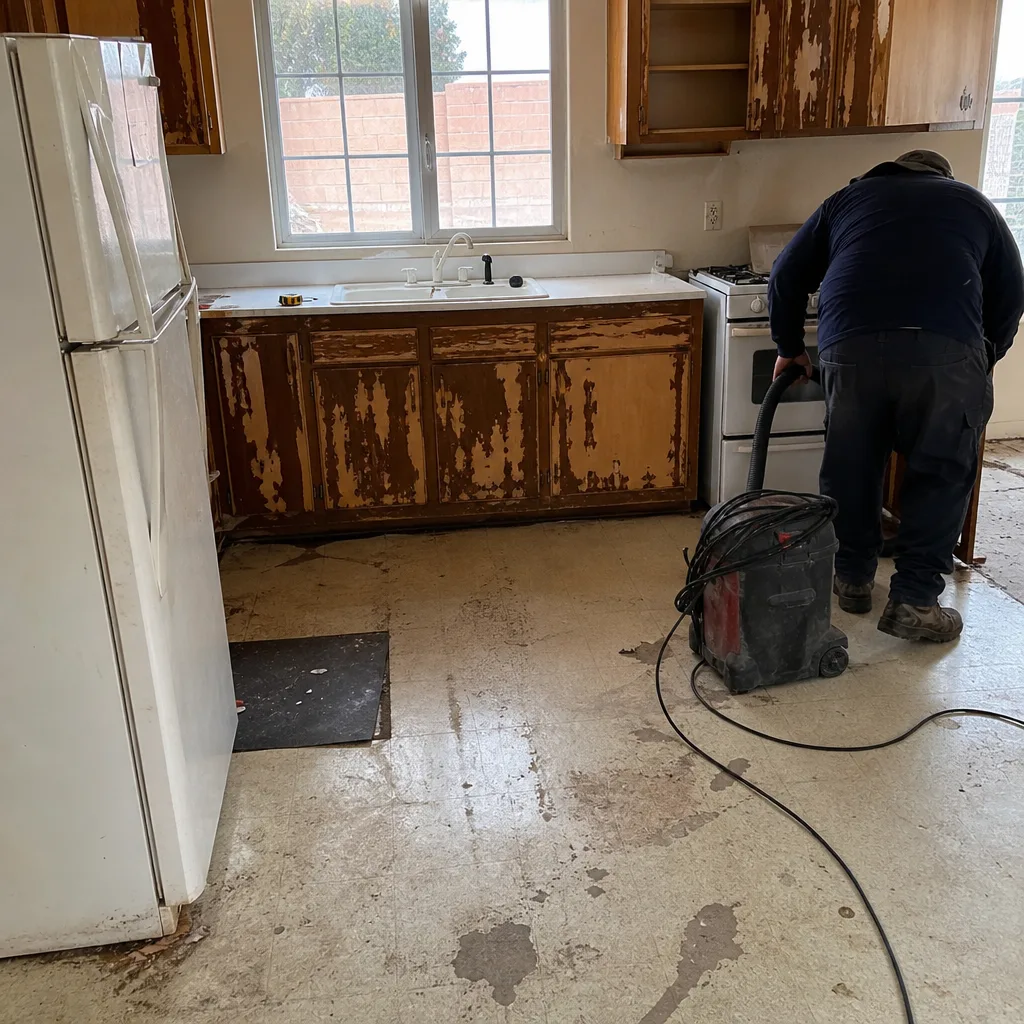 Before
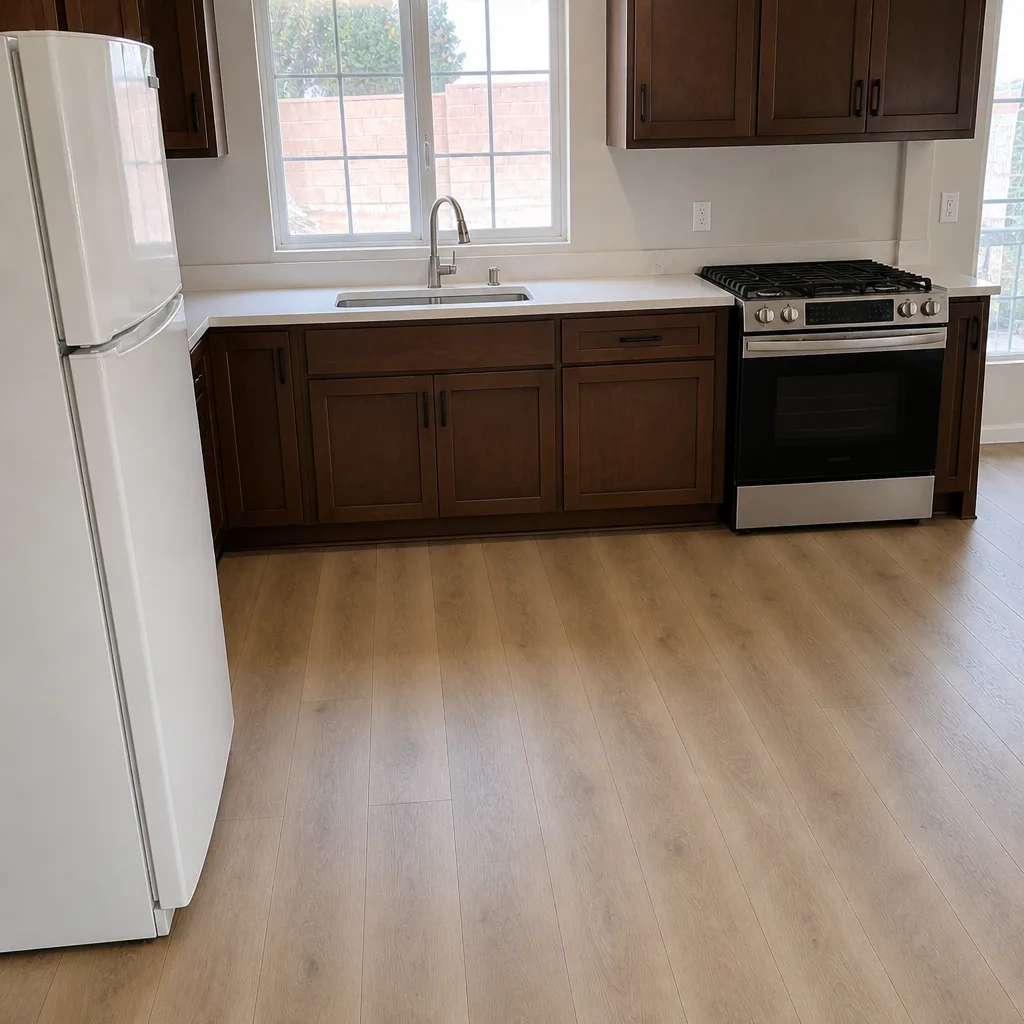 After
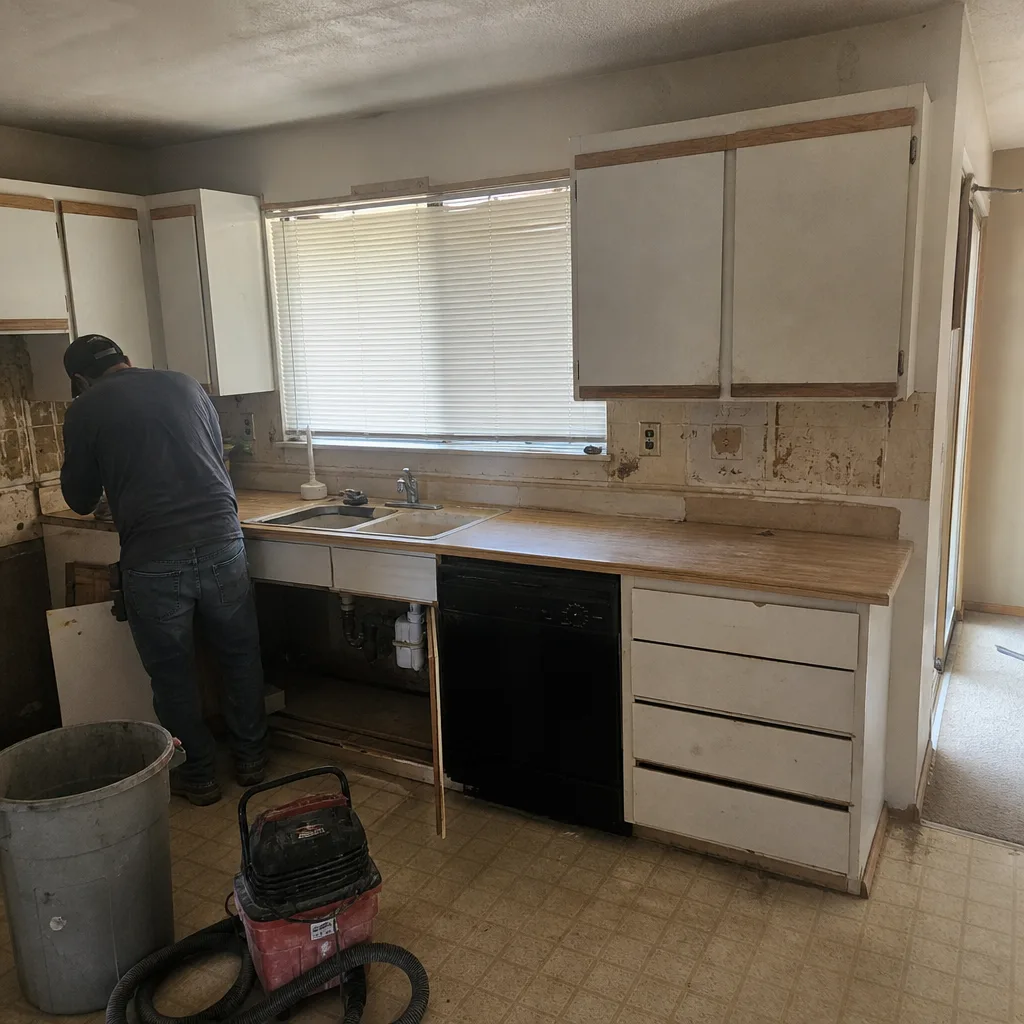 Before
 After
When to Call a Professional
Call a professional the moment your project touches waterproofing, plumbing rough-in, electrical rough-in, structural framing, gas, or permits. Also call if demo uncovers rot, mold, or a substrate that flexes. Those are the cases where the cost of a professional is smaller than the cost of a redo, and where the finished work needs to be defensible at resale. For everything else – paint, hardware, demo to spec, final finishes – a confident DIYer can save real money without risk. Groundwork Construction Co. of Boulder City offers free estimates in Boulder City – call (888) 282-1693 to get a line-item number on your bathroom before you pick up a hammer. Every estimate includes the finished scope, the brand selections, and the 730-Day Done Right Promise in writing.
Frequently Asked Questions
Painting, hardware swaps, toilet replacement, vanity installation on existing plumbing, light fixture swaps on existing circuits, demo to a contractor’s written scope, and final accessory install are all safe DIY work. Anything involving waterproofing, plumbing rough-in, new electrical circuits, or permits should go to a licensed professional. If you want to participate as much as possible, ask the contractor to leave demo, paint, and finishes for you.
Tile setting itself is learnable, but the waterproofing beneath it is not a tutorial-friendly task. A shower pan needs a preslope, a properly sealed membrane, and a documented flood test before tile goes down. In our experience, the failures we see on DIY showers almost always trace back to one of those three items, and the rework cost often runs $4,000 to $12,000 or more. Call (888) 282-1693 for a free estimate on the waterproofing and tile scope – it’s less than you’d think compared to the redo.
You need a permit for any work that moves plumbing supply or drain lines, adds or relocates electrical circuits, involves structural changes, or touches gas. Cosmetic work like paint, tile replacement over existing sound substrate, and fixture swaps generally doesn’t require one. The safest rule: if you’re unsure, call the building department and ask before you start. If your project does need a permit, that’s usually the moment to bring in a licensed contractor who will pull it and handle inspection.
DIY demo can save $800 to $2,500 on a typical bathroom remodel, depending on the size and how much material has to be hauled away. The savings only hold if you demo to the contractor’s exact scope and stop at the substrate. If you pull out framing, damage plumbing, or cover up something that should have been inspected, the rework usually erases the savings and then some. Call (888) 282-1693 for a free estimate that breaks out demo separately so you can see the tradeoff in numbers.
Unpermitted work can stall a title search, trigger a buyer’s inspector to flag the remodel, and reduce insurance coverage on a claim tied to the work. It can also force the county to require opened walls to verify the work was done correctly. In practice, unpermitted bathroom work is one of the most common issues we see in Boulder City real estate transactions, and the cost to fix it after the fact is always higher than pulling the permit the first time. If a project needs a permit, have a licensed contractor handle it.
Yes, and many homeowners do – especially on vanity, faucet, and shower head selections. The key is to confirm the spec with your contractor before install so nothing is incompatible with the plumbing rough-in, tile substrate, or waterproofing. Tile is trickier because the substrate and thinset need to match the tile’s format, weight, and absorption rate. Call (888) 282-1693 and we’ll walk through what to source yourself and what to let us handle for the best outcome.
The Bottom Line
The safe DIY shortlist for a bathroom is short but real: paint, hardware, demo to a written scope, toilet replacement in place, vanity swap on existing plumbing, and final finishes. Everything that holds back water, carries a permit, or sits beneath finished surfaces should go to a licensed professional. The cost math is lopsided – DIY savings on the safe list run a few thousand dollars, while a failed shower pan runs five to fifteen times that to fix. Boulder City’s dry climate hides moisture problems long enough for them to get expensive, and permit re-inspections on a future sale are unforgiving. Get a professional estimate before you start, do the safe work yourself with confidence, and hand off the rest to a contractor who puts the guarantee in writing.
If you’re ready to price the professional portion of your bathroom remodel, our Groundwork Construction Co. of Boulder City home and related project pages cover the full range of what we build – from Driveway & Pavers in Boulder City to Fence Installation in Boulder City and Home Additions & ADU in Boulder City. Call (888) 282-1693 for a free estimate – the number you see is the number you pay, backed by the 730-Day Done Right Promise. Live person answers, 24/7.
Written by the team at Groundwork Construction Co. of Boulder City.